YouTube video guide on how to create a logo animation using SVGator
In this detailed tutorial you can learn how easy it is to create an animated logo. Watch the full video tutorial from above, or read the short step-by-step description below.
What you will learn:
- How to recreate a logo from scratch
- How to edit elements and set up keyframes on the timeline
- How to use the stroke offset animator
- How to make custom easing effects
- How to create a glitch effect
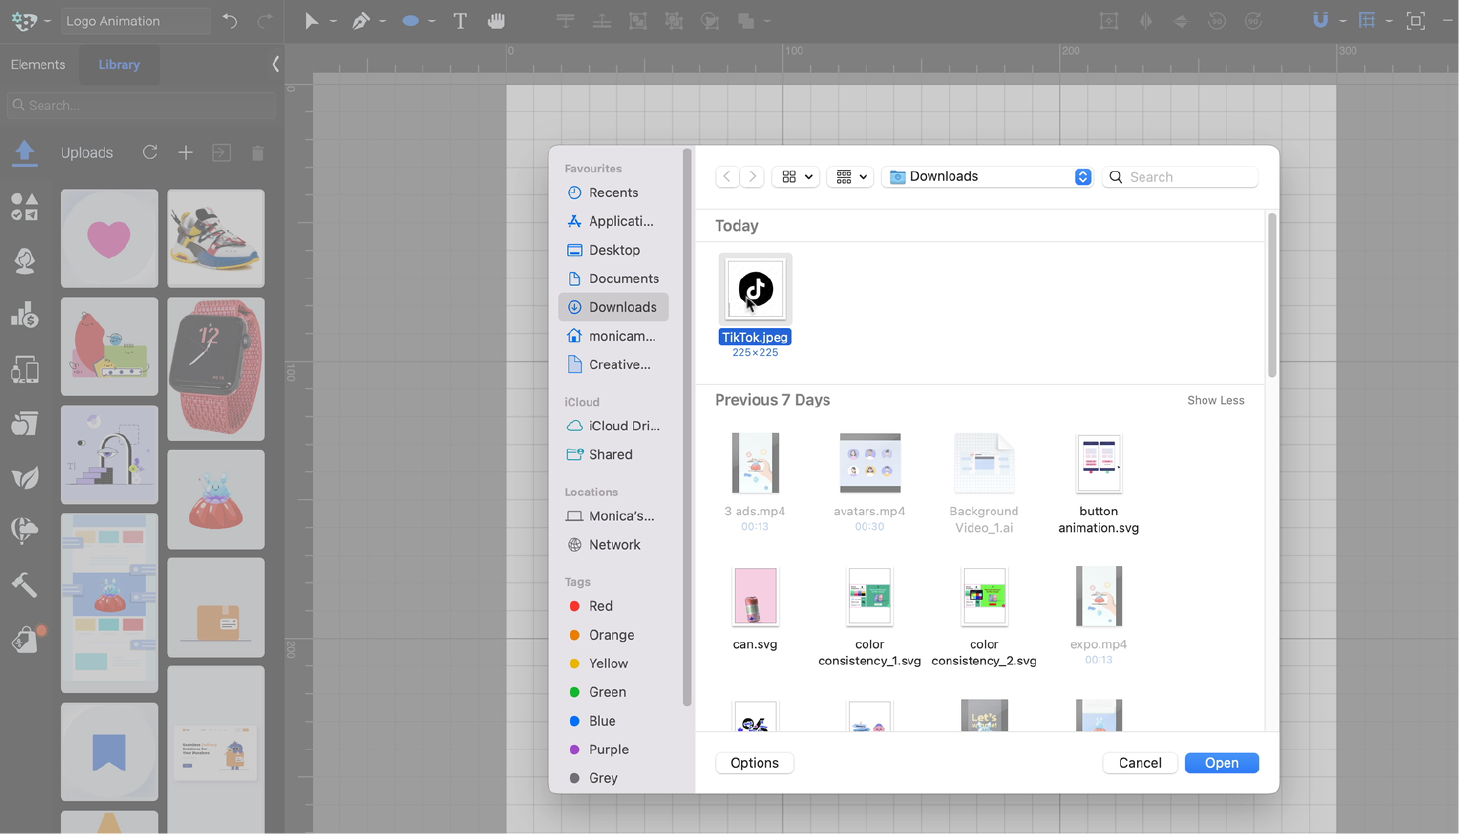
We chose the TikTok logo for this step-by-step guide, so that you can sharpen your logo animation skills with a well known design.
Step 1 - Draw a circle
From the toolbar, select the ellipse and start drawing the shape in the center by holding option and shift on Mac or Alt + Shift on Windows. From the right sidebar, change its color to black.

Step 2 - Import the asset
In the second step you will import the asset from your device and use it as a template to recreate the logo with basic shapes and the pen tool.
Step 3 - Recreate the logo shape
Lock your elements and enable snapping. Start by drawing a circle to recreate the logo shape. From the right sidebar, switch the color from Fill to Stroke and set the stroke width to 15 pixels.
Select the circle and make small adjustments. Then, right-click and choose "Convert to path."
Select the Add Node tool from the toolbar and add two nodes. Delete one node by right-clicking and selecting "Delete" or pressing delete on your keyboard. To edit the nodes, use the Node tool from the toolbar or press A.
Use the Pen tool to recreate the rest of the logo.
Make final adjustments with the Node tool. Change the stroke color to red and rename the element "Red." Create a duplicate by right-clicking, copying, pasting, and hitting duplicate.
Switch to the Transform tool. Move the duplicate two clicks left and two clicks up. Change its stroke color to blue and the blending mode to Hard Light. Rename it "Blue Hard Light."
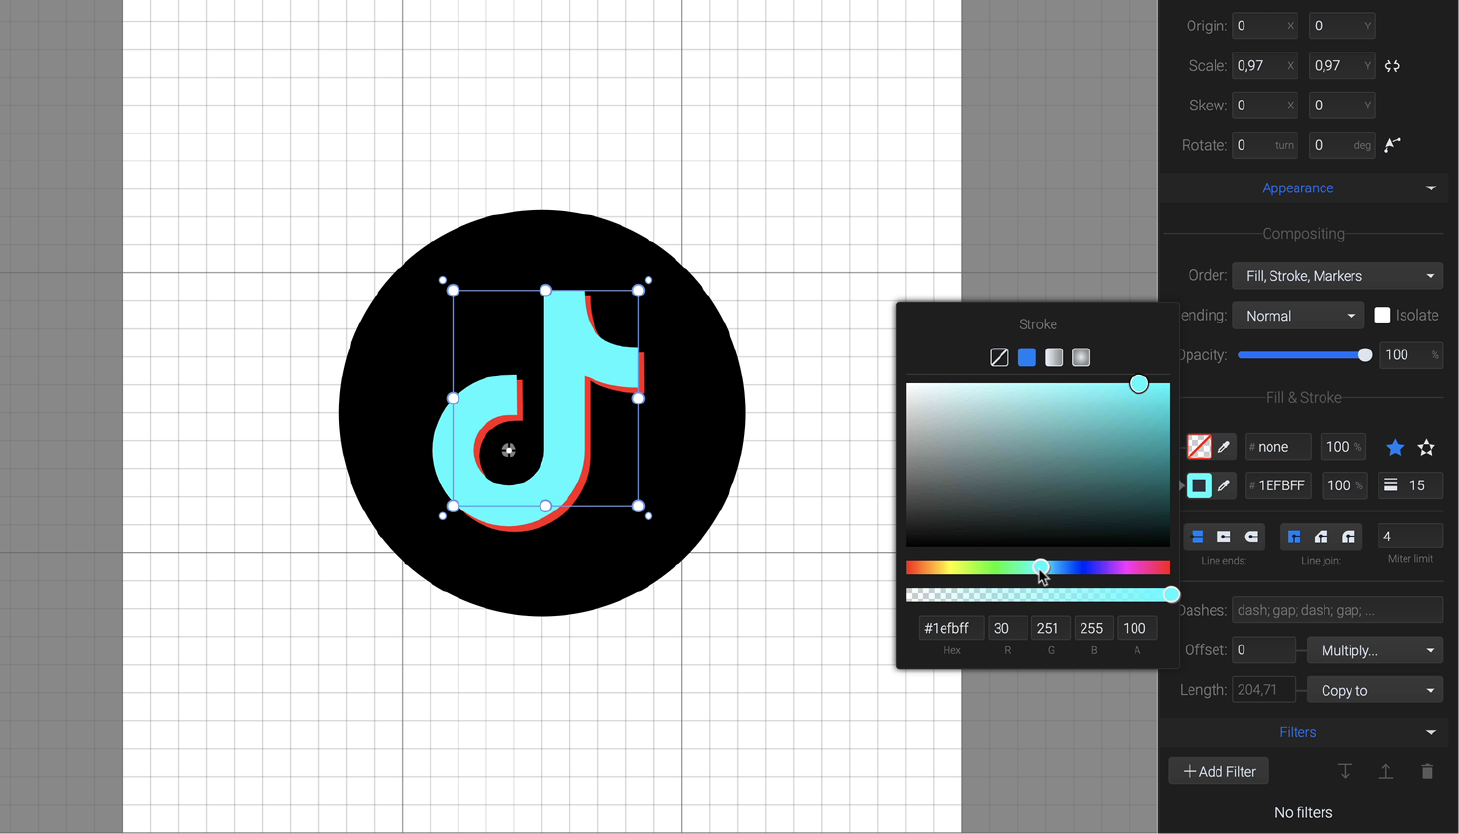
Create another duplicate and change its blending mode to Color Dodge. Rename it "Blue Color Dodge."
Group the two blue elements by selecting them, right-clicking, and choosing "Group." Name the group "Blue."
When you’re done with this, you can start the animation process.
Animate logos with SVGator!
Step 4 - Start animating
Select these three elements, go to Animate, and choose Stroke Offset Animator. In the Stroke panel, set Path Length to "Copy to Offset & Dashes." Move the playhead to 1 second and set Offset to Multiply by 2. Play the animation to see the self-drawing effect.
To add a bounce, move all keyframes to 1.6 seconds. Unlock the initial ellipse, make it smaller, and move it outside the canvas.
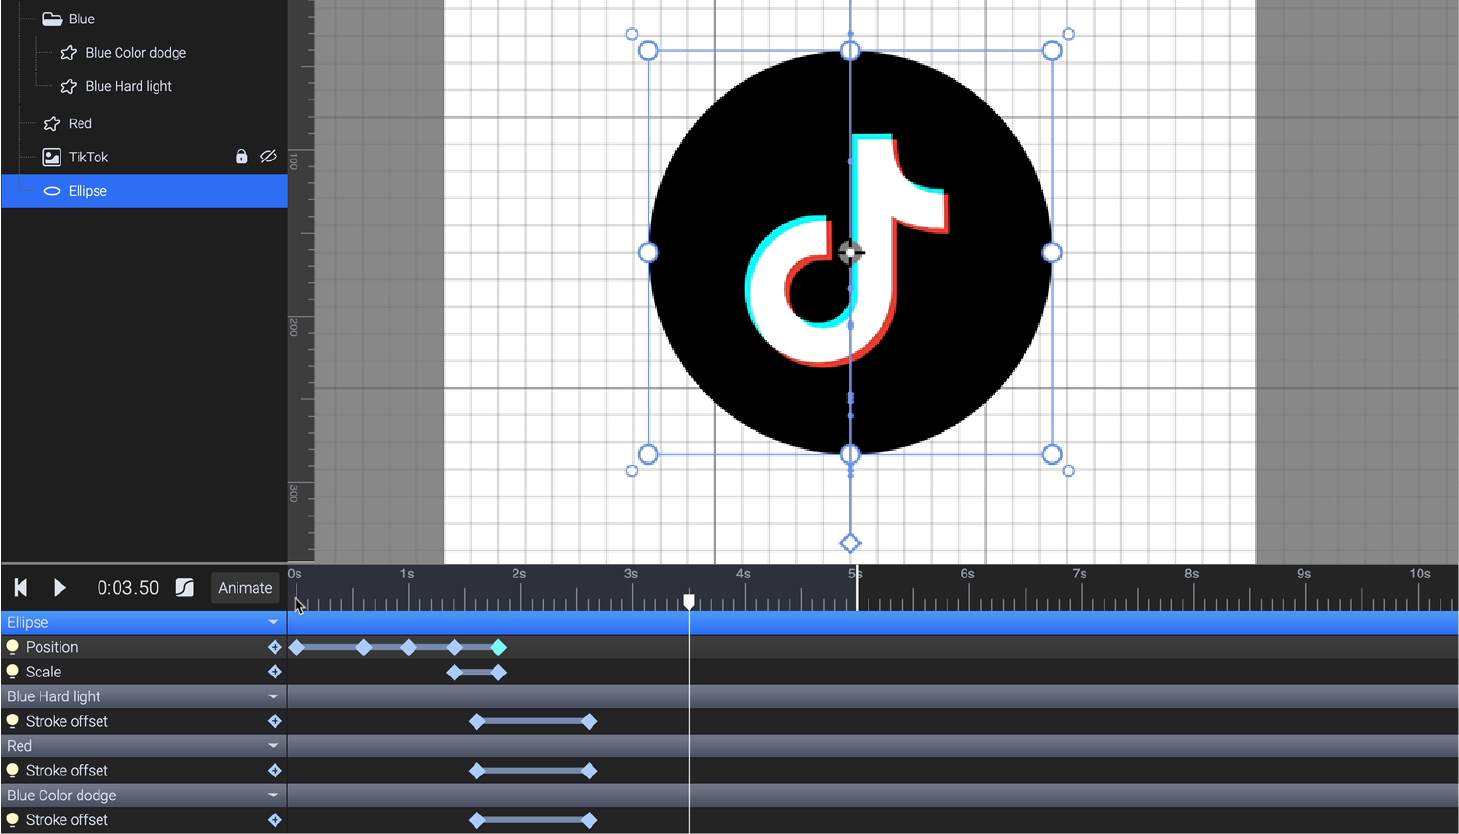
Select Position in Animate, move the playhead to 0.6 seconds, and drag the circle down. Move the playhead to 1 second and move the element to the center. At 1.4 seconds, duplicate the 0.6-second keyframe. At 1.8 seconds, duplicate the 1-second keyframe.
Add a Scale animator, move the playhead to 1.4 seconds, and select Scale in Animate. At 1.8 seconds, scale up the element using the Transform tool. Play the animation to see the changes.
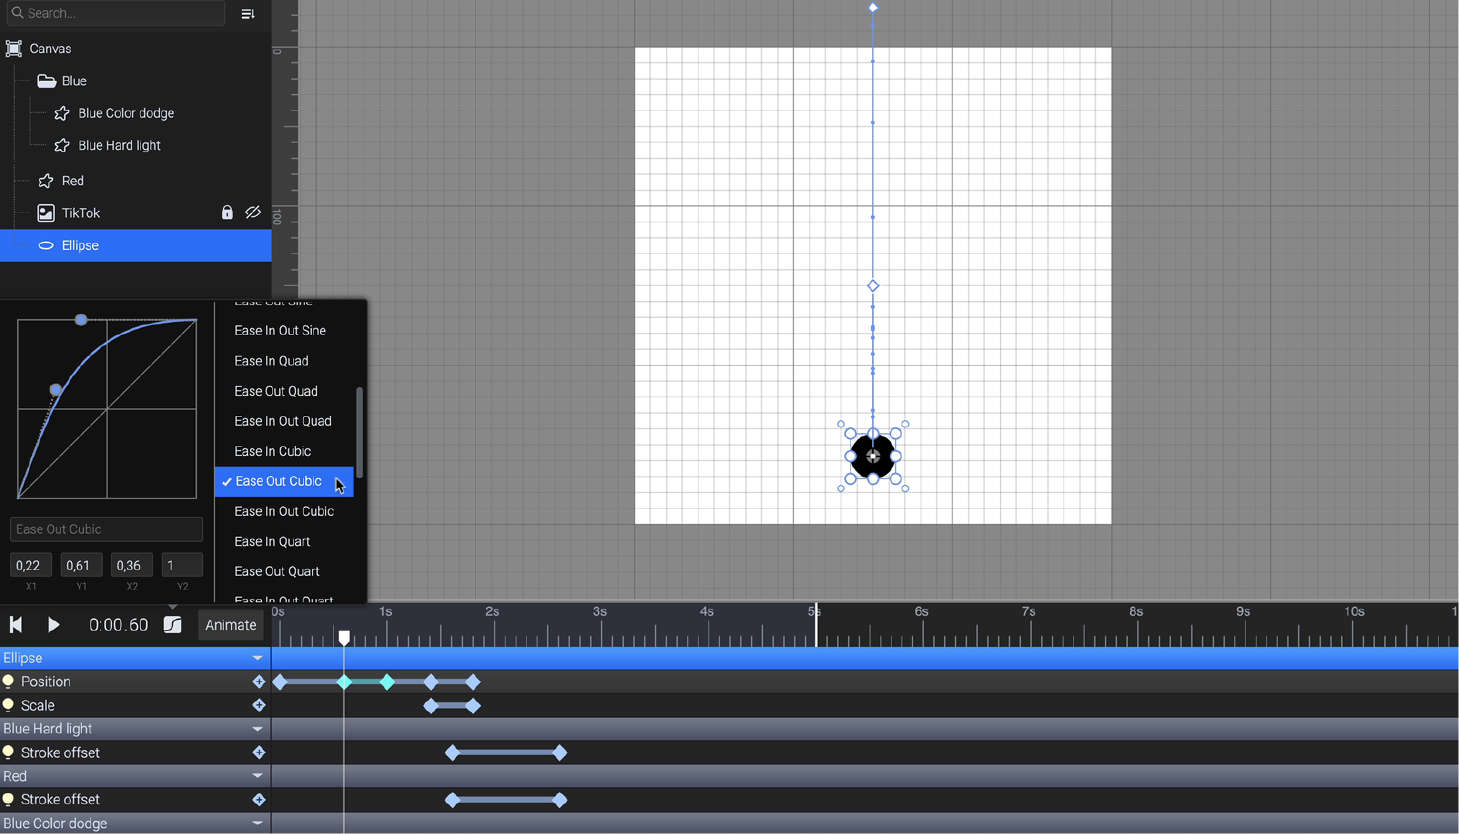
To make the bounce realistic, add easings. Set the first keyframes to "Ease In Quad," the second to "Ease Out Cubic," the next to "Ease In Cubic," and the last to "Ease Out Cubic." For the scale animation keyframes, use "Ease In Cubic."
Step 5 - Add some effects
Like going the extra mile with your designs? Add a glitch effect! Move the playhead to 3 seconds, Select the Blue group and go to Animate. Choose the Position animator.
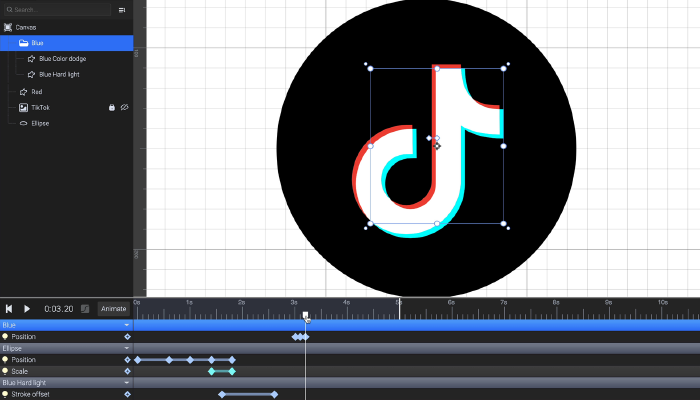
Move the playhead to 3.1 seconds, and move the Blue group incrementally to mimic the glitch effect. Repeat with a few other keyframes.
Select your “glitchy” keyframes, Right click and hit “Duplicate”. Repeat the same step again to make the glitch effect play longer.
We hope that this short tutorial will help you to create logo animations. If you have any questions feel free to reach out to us at contact@svgator.com.
Don’t forget to share your work with us on social media: Facebook, X (Twitter), and Instagram. We’d love to hear from you!
Want to learn more about logos? Check out the related articles from below:
 SVGator
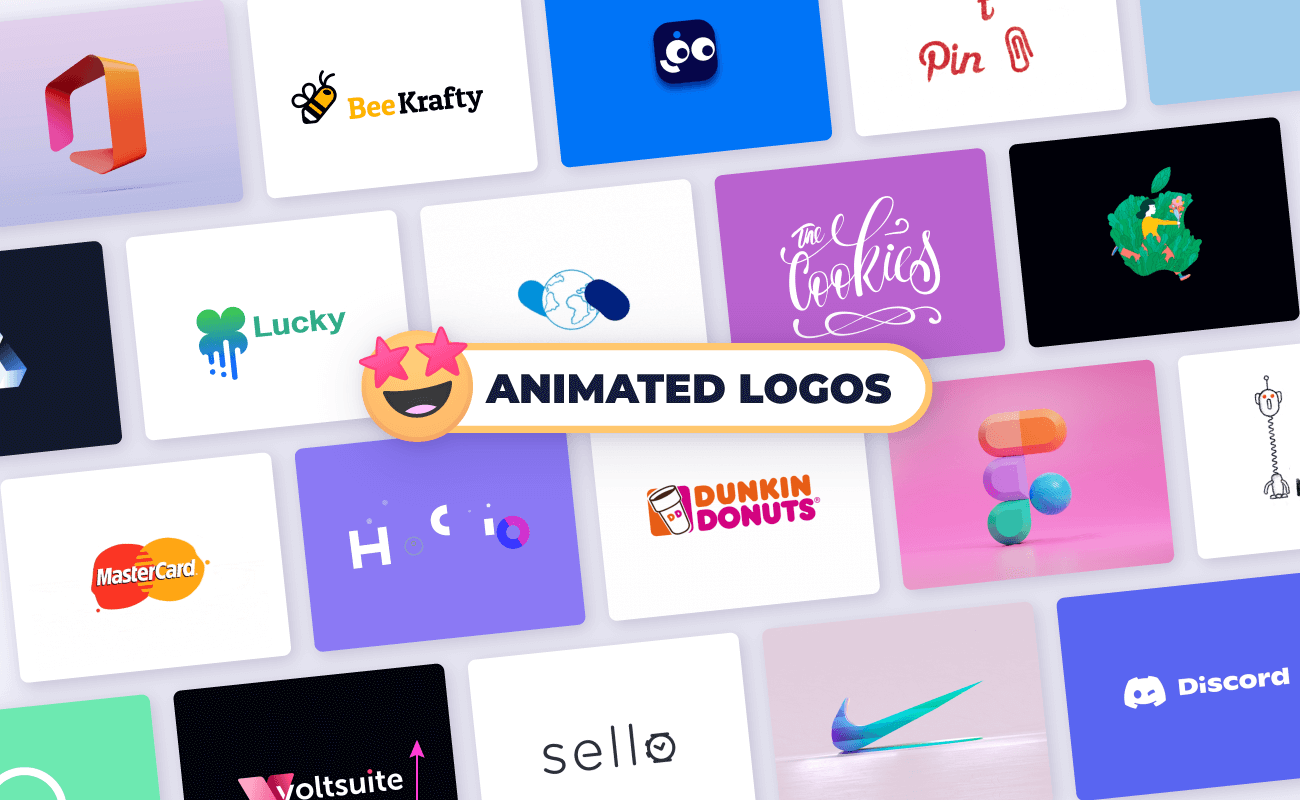
Cool examples of animated logos