How to Animate a Clipping Mask
Duration: 05:37
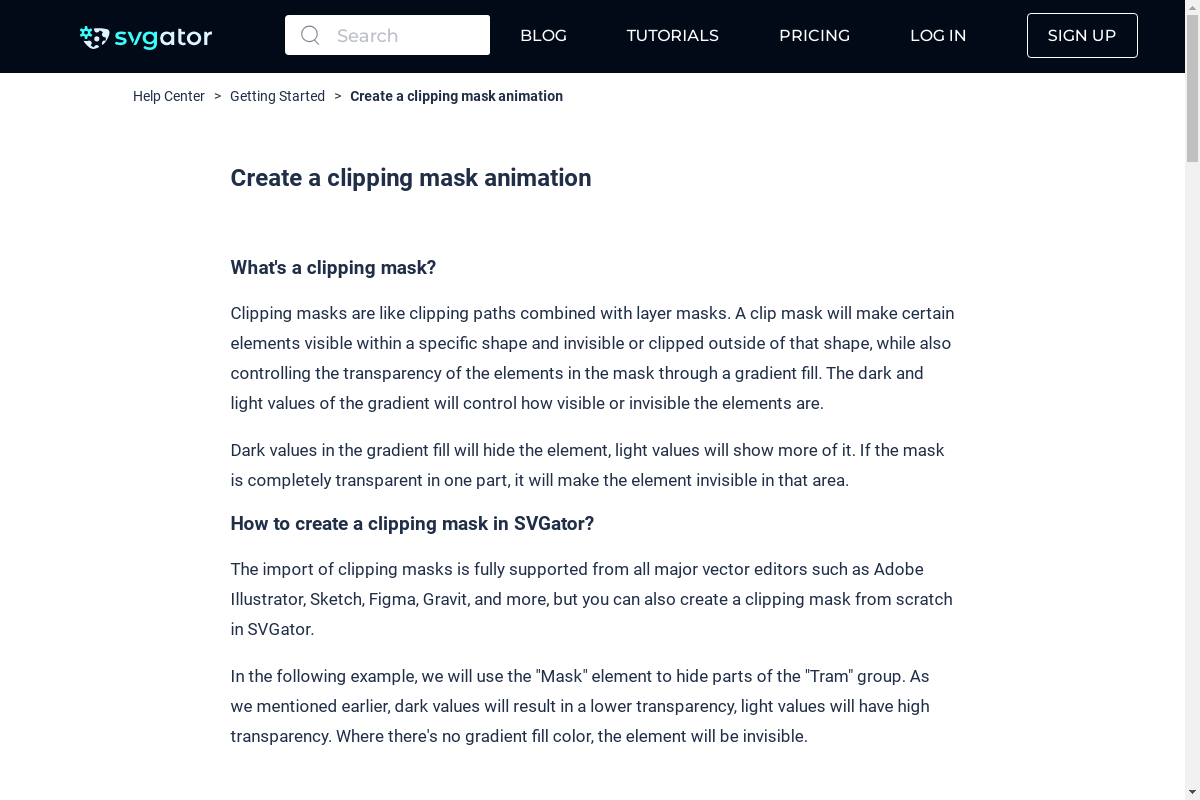
Creating and animating clipping masks in SVGator is a straightforward process that allows you to produce dynamic and visually engaging animations.
Here's a detailed guide on how to create and animate clipping masks, emphasizing the most critical steps.
Step 1 - Preparation
Before starting, ensure you have your animation ready and identify the elements you want to mask. Lock the group containing all the animated elements to hide the existing keyframes from the timeline, allowing you to focus on the new animations you'll create.
Step 2 - Creating the Mask
Draw the Mask Shape: Begin by drawing a shape (e.g., a circle) in the desired position. This shape will serve as the mask for your animation.
Select and Create the Mask: Select both the mask shape and the group you want to mask. The object in front will become the mask. With both selected, right-click and choose "Create Mask" from the menu. This action creates a mask group that contains both the mask and the masked elements.
Choose Mask Type: The mask group will have two types: luminance and alpha. Select "Alpha" to ensure the mask ignores the opacity from the mask object's color.
Step 3 - Animating the Mask
Animate Scale: Open the elements list and select the ellipse (mask shape) within the MK group. Choose "Scale" from the animator's list to add the first keyframe at the playhead's position. Set the scale to zero, then drag the playhead half a second forward and set the scale to one (100%). This action animates the mask, scaling it up from zero and revealing the animation inside.
Animate Position: Add a position animation to the mask. Start from 0.8 seconds, choose "Position" from the animator's list, drag the playhead another half second, and move the mask shape upward. Use the up arrow key while holding the shift key to move it in 10-pixel increments. Move it up 30 pixels.
Step 4 - Adding Complexity
Duplicate Mask Elements: You can create more complex animations by adding multiple elements inside a group mask. Duplicate the animated mask shape by right-clicking and choosing copy and paste options. Delete the second position keyframe of the duplicate and move the circle 30 pixels to the right using the arrow key and shift key.
Create Additional Copies: Repeat the duplication process to create more mask elements. Adjust their positions to form desired shapes. For example, to create a clover shape, duplicate the mask shape again, delete its second keyframe, and move it 30 pixels to the left.
Step 5 - Grouping and Rotating Masks
Group and Rotate: Select all mask elements and group them. Rename the group for clarity. With the group selected, choose "Rotate" from the animator's list. Drag the playhead to the desired position and set the rotation angle (e.g., 90 degrees). This rotation applies to the entire group, maintaining individual animations for each mask element.
Step 6 - Scaling and Finishing Touches
Scale Animation for Each Circle: Add a scale animation for each circle within the shapes group. Start the scale animation when the rotation starts. Select all elements inside the shapes group, add a scale keyframe, drag the playhead to the second rotation keyframe, and set the scale to zero.
Easing Function: To smooth the animation, add an easing function to all keyframes. Select all animators and their keyframes, open the easing panel, and choose an easing preset (e.g., ease in out Quint).
Step 7 - Preview and Final Adjustments
Preview the Animation: Play the animation from the beginning to see the effects of your changes. Ensure all movements and transitions are smooth. Advanced Animations: For more complex animations, consider using additional mask features like morph, stroke offset, and other transformations.
Still have questions? Send us an email to contact@svgator.com and we will get back to you as soon as we can!
Related tutorials to help you out:


