Create a clipping mask animation
What's a clipping mask?
Clipping masks are like clipping paths combined with layer masks. A clip mask will make certain elements visible within a specific shape and invisible or clipped outside of that shape, while also controlling the transparency of the elements in the mask through a gradient fill. The dark and light values of the gradient will control how visible or invisible the elements are.
Dark values in the gradient fill will hide the element, light values will show more of it. If the mask is completely transparent in one part, it will make the element invisible in that area.
How to create a clipping mask in SVGator?
The import of clipping masks is fully supported from all major vector editors such as Adobe Illustrator, Sketch, Figma, Gravit, and more, but you can also create a clipping mask from scratch in SVGator.
In the following example, we will use the "Mask" element to hide parts of the "Tram" group. As we mentioned earlier, dark values will result in a lower transparency, light values will have high transparency. Where there's no gradient fill color, the element will be invisible.
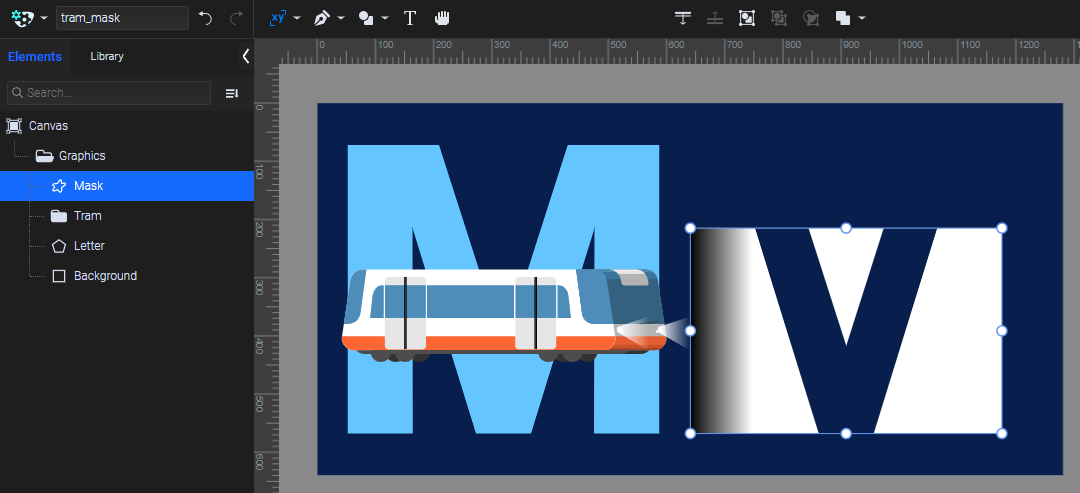
Next, we will place the "Mask" element above the "Tram" group.
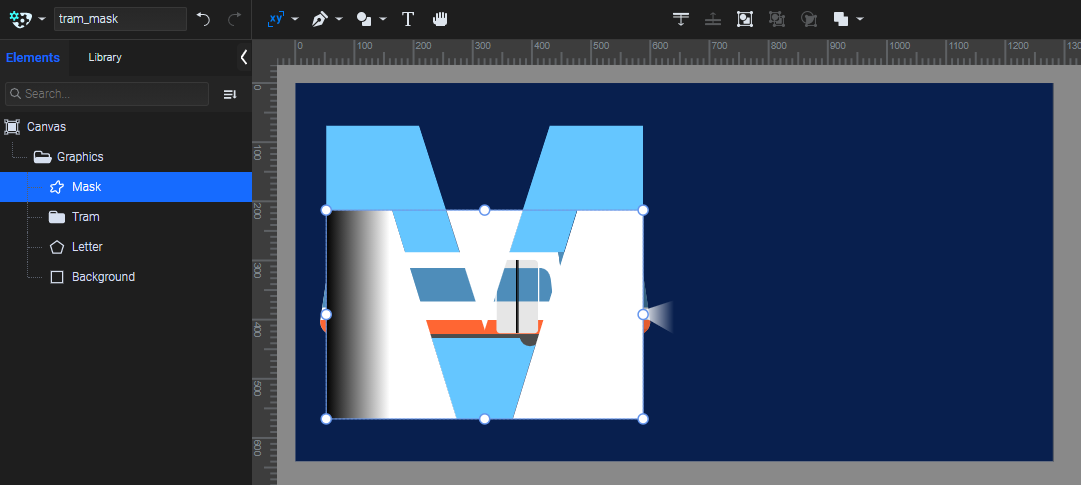
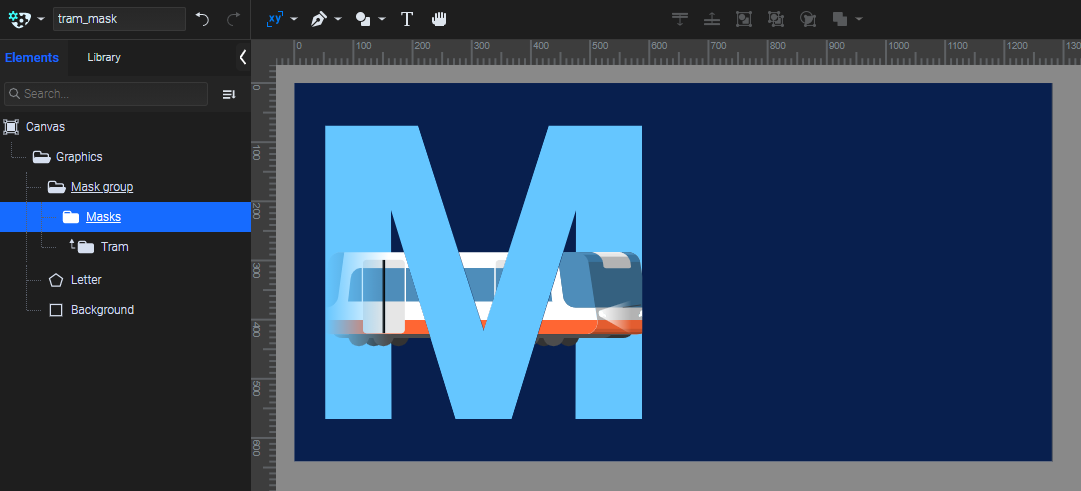
Select both, right-click -> "Create clipping mask". The element on top will become a mask for the element that's under it.
How to animate a clipping mask?
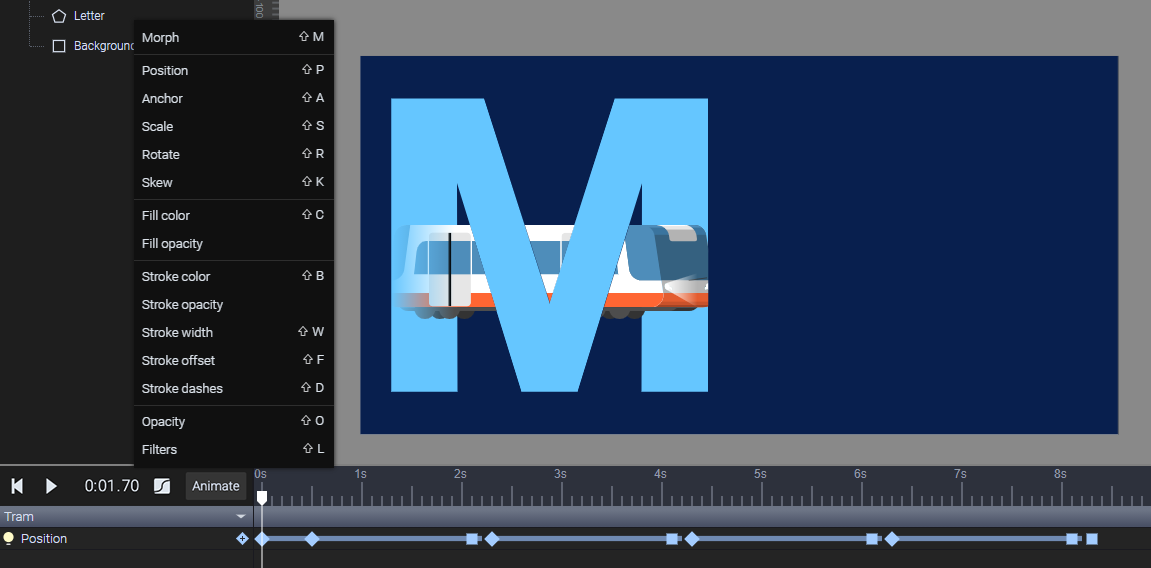
Clipping masks and the elements in them can be animated just like any other group or element in SVGator. For clipping mask groups you can use the basic Transform animators such as Position, Scale, Rotate, Skew, and Anchor.
For the mask itself from the group, all animators will be available.
More articles:
Still got questions? Send us an email to contact@svgator.com and we will get back to you as soon as we can.