Create a clipping path animation
What's a clipping path?
Clipping paths will make certain elements visible within an area and completely hidden or clipped outside of that area. They are very commonly used in graphic design to hide unwanted parts of an image, but they also unlock a wide range of animation possibilities when it comes to SVG animations.
In SVG animations, clip paths are closed vector paths. In a clip group, the elements that are under the clip path, will be partially hidden outside of the clip path area and visible within that specific area.
How to generate a clipping path?
The import of clip path elements is fully supported by SVGator from all major editing tools such as Illu strator, Sketch, Figma, Gravit, and more, but you can also create clip paths from scratch in SVGator.
To generate a clip path in SVGator, you will need at least two elements visible on the canvas. You can also use multiple elements at the same time as clip paths, but we will talk about that a bit later.
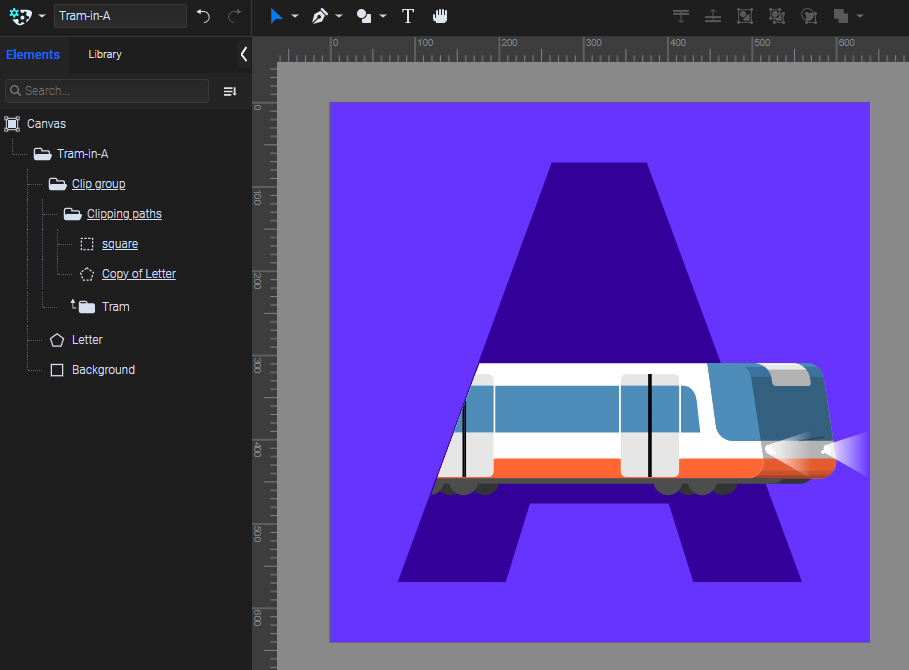
In the following example, we would like the tram to be visible only within the A letter area and hidden outside of it:
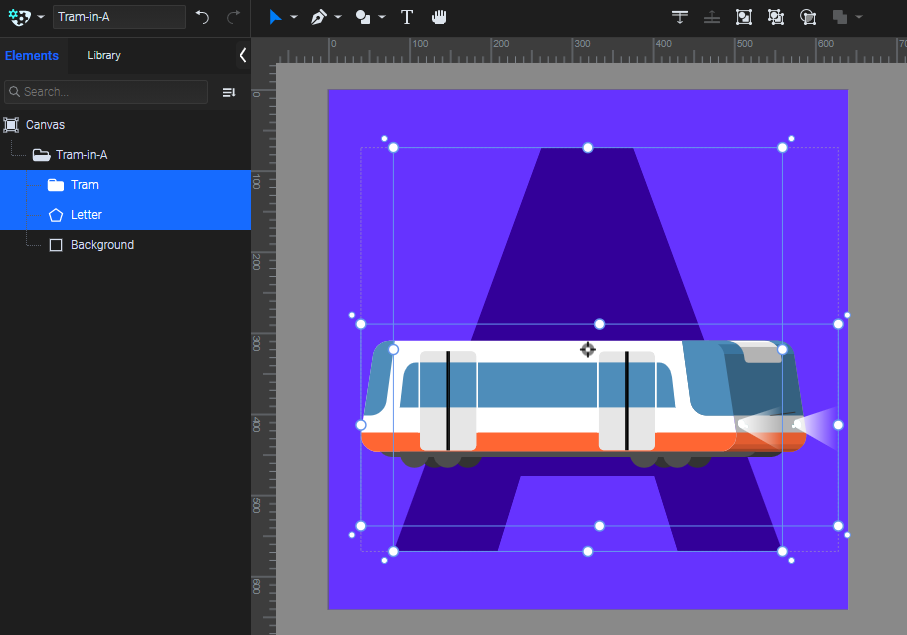
When you are creating a clip path, the element on top will become a clip path to the element that's under it. In this case, to make the tram visible within that specific area only, we will make a duplicate of the A letter and place it on top of the tram.
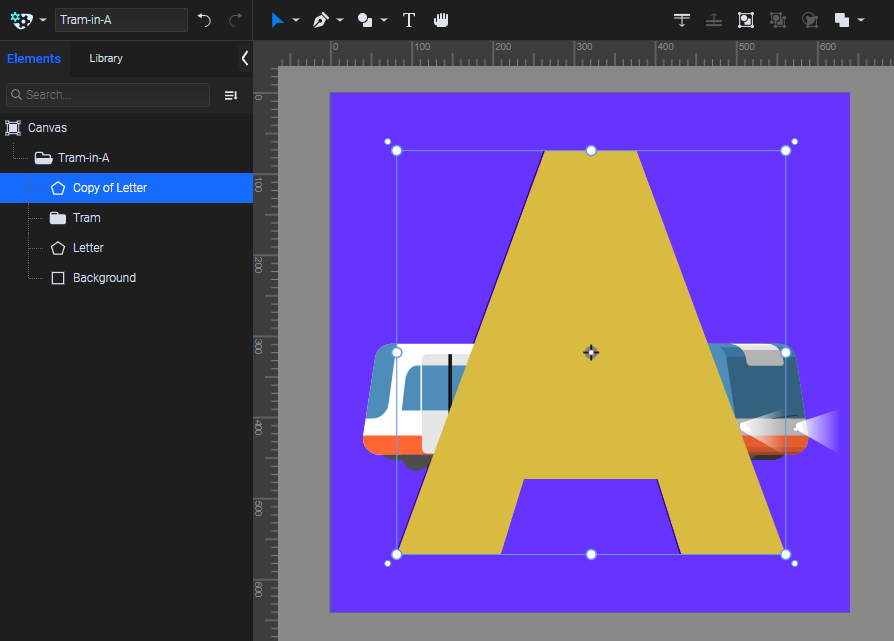
Select both elements, the A letter and the "Tram" group, right-click -> "Create clipping path". The element on top will become a clip path for the element underneath it, just like a window through which we can see the content inside.
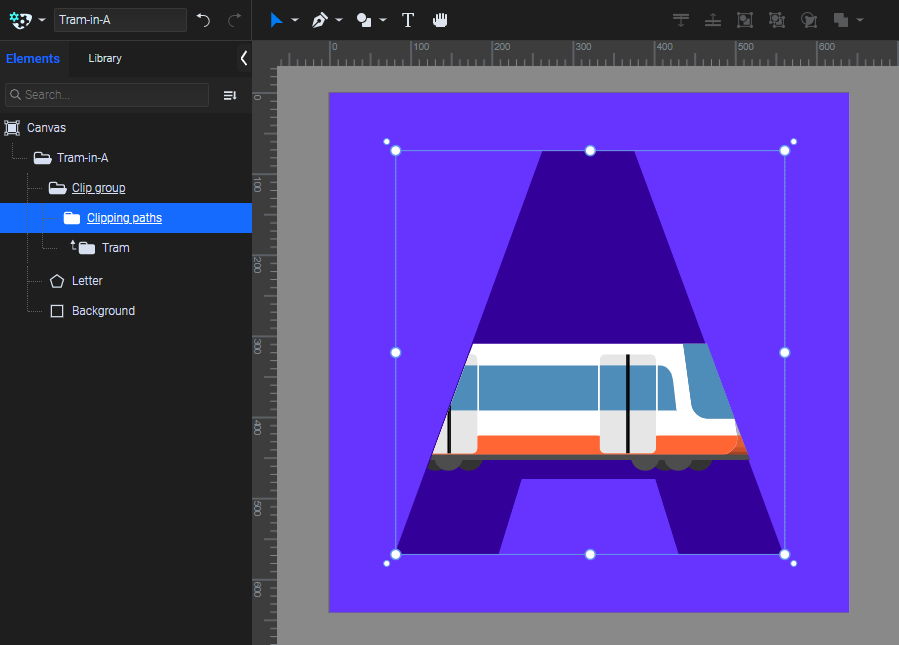
Take a look at the list on the left side. There's a new clip group including all elements forming the clip path. This group and the clip path itself are underlined, because they are not regular groups or elements. The A letter is now a "Clipping paths" group. It says "paths", because, as we also mentioned earlier, you can use multiple elements in the same group as clipping paths.
Let's try that now by adding a new element to the project.
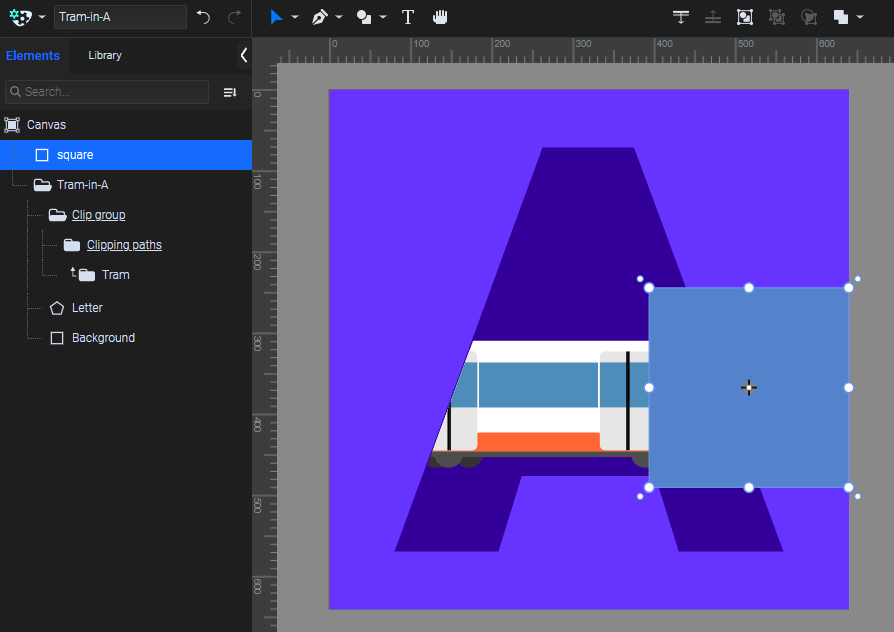
As we move the "square" element in the "Clipping paths" group, above the "Copy of Letter" element, it will automatically work as a clip path, making the tram's right side under it visible.
If you don't need it as a clip path anymore, you can select the clip path or the whole group, right-click -> "Release clipping path".
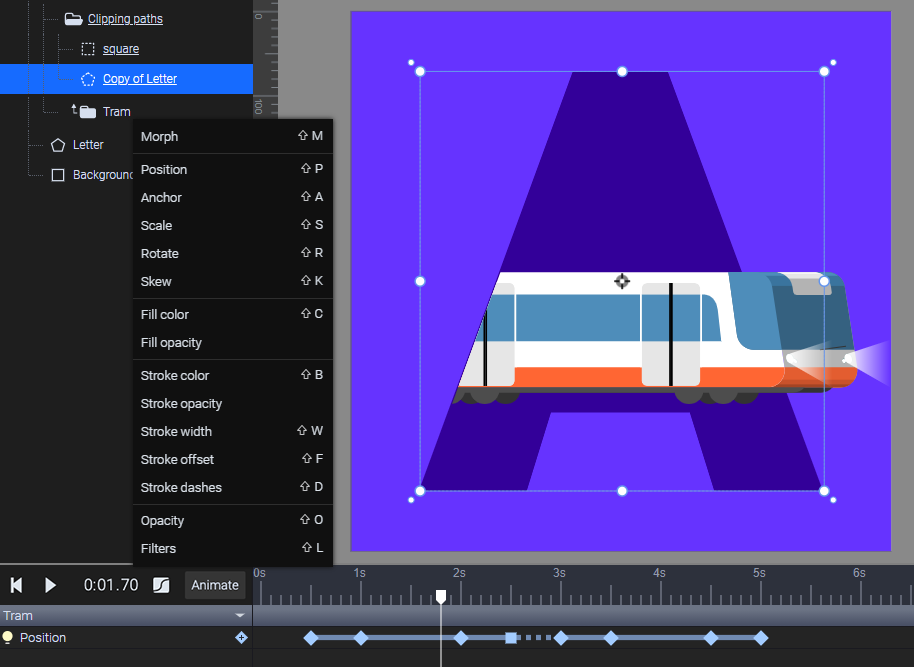
How to animate a clipping path?
In your SVG animation, clipping paths and all other elements in the clipping path groups can be animated just like regular elements.
For clipping path groups you can use Transform animators such as Position, Scale, Rotate, and more. For the clip path itself, you can use all animators.
More articles:
Still got questions? Send us an email to contact@svgator.com and we will get back to you as soon as we can.