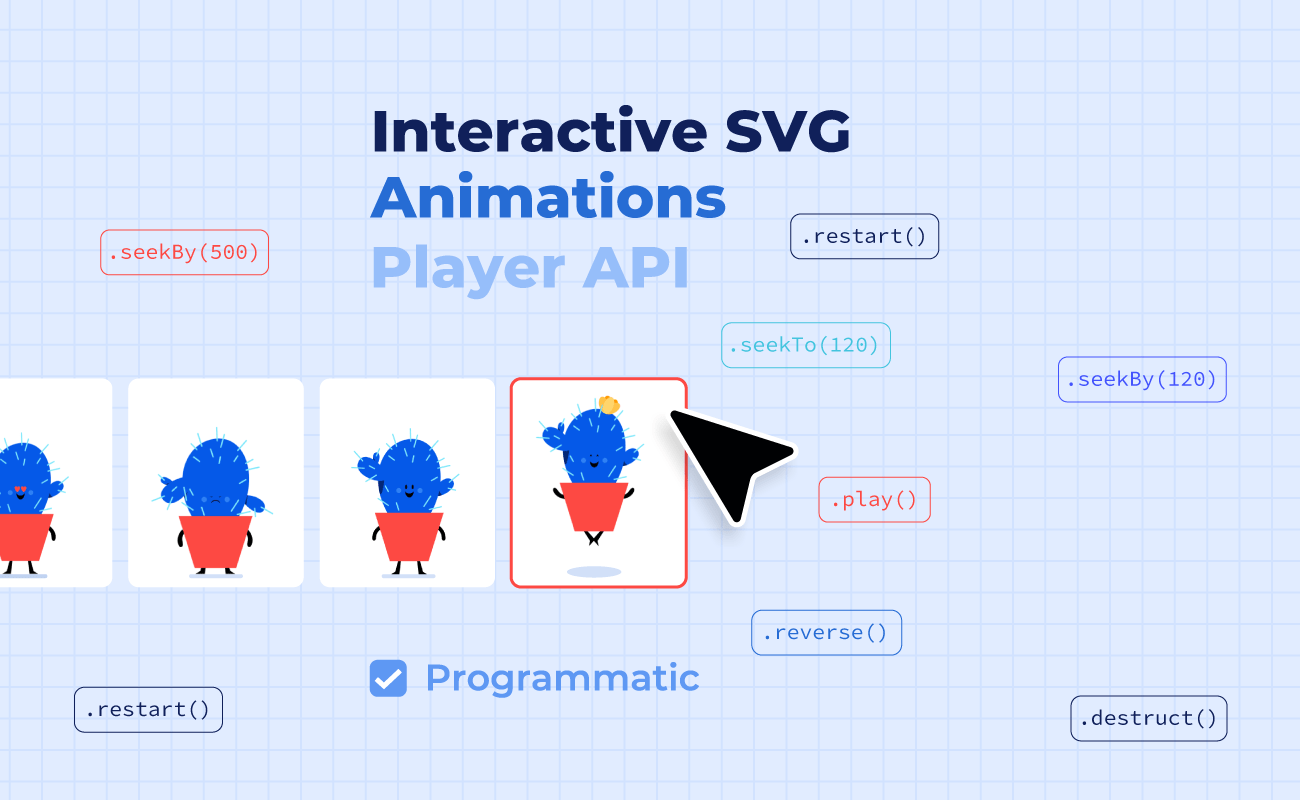
How to use SVGator’s Player API to Control Animations Programmatically
Duration: 20:07
In this tutorial, you can learn how to use SVGator’s Player API to create and control an animation programmatically.
Step 1 - Understanding the Animation Structure
The animation lasts 6 seconds and has been intentionally designed so that you can divide it into 3 equal sections, each lasting 2 seconds.
The first section runs from 0 to 2 seconds. This is the initial sub-animation, which will loop infinitely once the user hits "Pulse”. The second section, from 2 to 4 seconds, is the glow animation. The final section, from 4 to 6 seconds, is the jump animation.
For smooth transitions, the frames at the section boundaries must be identical. The jellyfish must be in the exact same position and state at second 0, then again at 2, 4, and finally at 6 seconds.
Step 2 - Setting Up the Animation
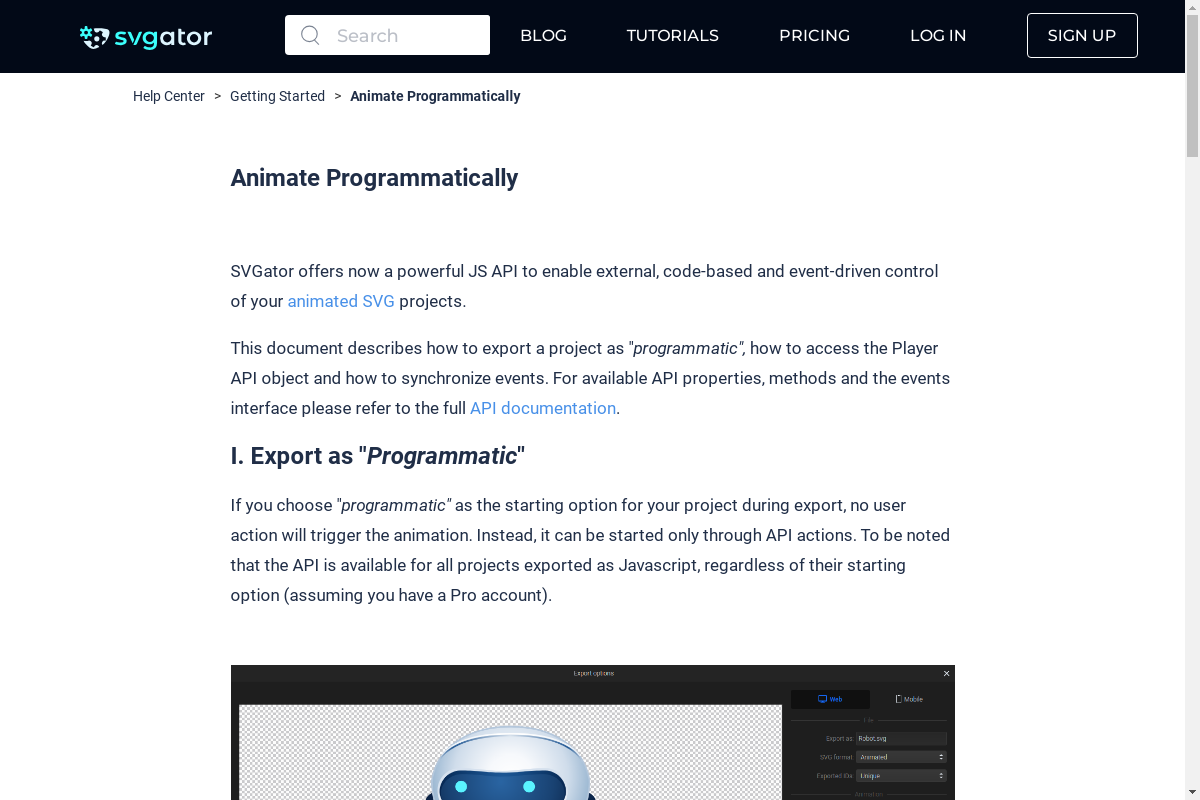
To export the project so you can control it programmatically, go to Export and then select SVG as the format.
Make sure the animation type is set to JavaScript. Also, set the start animation to programmatic.
Now, click Export. Once that’s done, open up Sublime Text. This is where we’ll be writing the code to bring the animation to life.
Step 3 - Creating the HTML File
Create a new file in Sublime Text and save it with an .html extension. For this tutorial, we’re using a simple HTML file to demonstrate the API, but in a real scenario, you’ll be placing your SVG directly on your webpage.
Start by setting up the basic HTML structure. Add a title to the page: My SVGator API Test.
Step 4- Styling the Page and Adding the SVG
To make the page look a bit better, copy the CSS code and paste it inside a "style" tag in your HTML file. Once that’s done, close the style section.
Create a "div" container for the SVG and give it an ID: svg-container.
Now, open the SVG file that was exported earlier in Sublime Text. Copy all of its contents. Go back to the HTML file and paste the SVG inside the svg-container div. Close the SVG file.
Step 5 - Adding the JavaScript Logic
Underneath the "div" container, create a "script" tag. This is where we’ll write the JavaScript logic to control the animation.
First, get a reference to the SVG element that will be animated. Store it in a constant called svgElement. To do this, find the id attribute of the SVG at the top of the file, copy its value, and paste it inside the script.
This svgElement constant has a property called svgatorPlayer, which is the endpoint used to communicate with the API.
Step 6 - Waiting for the Player to Be Ready
Before controlling the animation, wait for the player to be ready. Do this by calling the ready method on the svgatorPlayer.
This method takes a callback function. Now, create a function called controlSVG and pass it as the callback to ready. This function will receive a parameter named player, which will be used to control the animation.
Step 7 - Defining Animation Sections
Identify how many sections the animation has. For this example, it has three sections.
Next, determine the duration of each section. Create a constant sectionDuration, which is the total animation duration divided by the number of sections.
Create a variable called currentSection, which will default to the first section. Also, create another variable, sectionToJumpTo, initially set to the same value as currentSection.
Finally, add a flag changeAnimation, set to false by default. This will help determine if an animation switch is pending.
Step 8 - Adding the Control Buttons
Create a container for the buttons and give it an ID: buttons. Inside it, create four buttons:
- A pulse button
- A go button
- A jump button
- A stop button
Step 9 - Getting Button References in JavaScript
Now, in the script section, get a reference to the buttons container and store it in a constant called buttons. Also, get a reference to the first button so that its text can be updated dynamically.
Step 10 - Adding Event Listeners to Buttons
Inside the controlSVG function, add an event listener for click events on the buttons container. Since the event listener takes a callback function, create a function called onClick, which will handle the button interactions.
Inside onClick, check which button was clicked by examining its id.
If the pulse button was clicked, toggle the animation between playing and pausing, and update the button text accordingly. Use player.toggle() for this.
If the go button was clicked, check if the animation is playing and if currentSection is the first section. If both conditions are met, mark changeAnimation as true and set sectionToJumpTo to the second animation.
For the jump button, follow the same logic as the go button, but set sectionToJumpTo to the third animation.
For the stop button, stop the animation using player.stop(). Also, reset currentSection and sectionToJumpTo to the default animation (first section) and update the pulse button’s text.
Step 11 - Listening for Keyframe Changes
Inside controlSVG, add a keyframe listener using player.on("keyframe", onKeyframeChange).
Now, create the onKeyframeChange function. This function receives a keyframe parameter, which indicates the current progress of the animation.
If the animation hasn’t reached the next section’s boundary, do nothing. Otherwise, check if changeAnimation is true.
Step 12 - Handling Animation Transitions
If changeAnimation is true, jump to the specified section using player.seek(sectionDuration * sectionToJumpTo). Then update currentSection to match sectionToJumpTo and reset changeAnimation to false.
If changeAnimation is false, restart the animation using player.restart(), and reset currentSection and sectionToJumpTo to the default animation.
Step 13 - Testing the Controls
Now, check if everything works as expected:
- The SVG starts pulsating.
- Clicking the pulse button starts the animation.
- Clicking the glow button jumps to the glow animation.
- Clicking the jump button switches to the jump animation.
- The animation can be pulsed and stopped at any time.
Additional Resources
In the video description, find downloadable assets with extra details like disabled button states. Also, check out the link to our CodePen project, where you can experiment with the code, and the link to our Player API for more advanced SVG interactions.
Still have questions? Send us an email to contact@svgator.com and we will get back to you as soon as we can!
Related resources to help you out: