How to Create Stroke Animations
Duration: 05:37
In this tutorial you can learn how to create stroke animations.
Creating stroke animations is an engaging and visually appealing way to bring your designs to life. This guide will walk you through the main ideas and steps required to animate stroke paths effectively.
Step 1 - Preparing Elements with Visible Strokes
To begin, ensure that your canvas contains elements with visible strokes. In this case, all the elements are strokes created using the Pen tool. Organize your elements into groups: one main group containing the stroke path around the word "L" and another group with the letters of the word.
Step 2 - Setting Up Dash Arrays
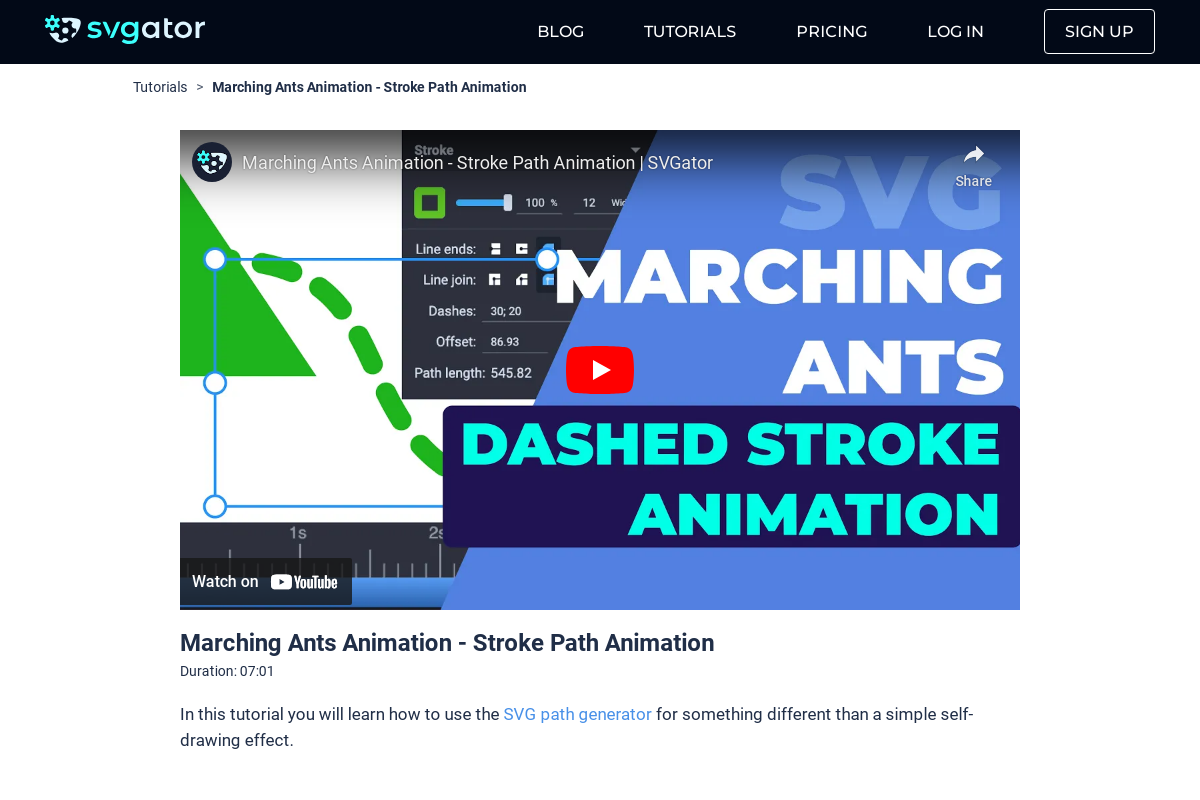
With the Transform tool, select the path around the letters and navigate to the dashes input to set a dash array. Typing in "2" will create dashes of two pixels separated by gaps of two pixels. The gaps might look smaller due to the rounded line end style, which adds a little to the dash length. To increase the gap, type in "2;4" which sets a gap of four pixels instead of two.
Step 3 - Animating the Dashes
The next step involves animating the dashes so they move along the path. Start from the beginning of the timeline, click on Animate, and select Stroke Offset. The first keyframe will be added automatically, marking the beginning of the animation. To set the second keyframe, drag the playhead to the end of the timeline (e.g., at 5.5 seconds) and input "100" in the offset input. This represents the distance the dashes will move. A second keyframe will be added, marking the end of the animation. Preview the animation by returning to zero on the timeline and pressing the spacebar.
Step 4 - Animating Stroke Width
To animate the stroke width, position the playhead at 1.5 seconds. From the Animator's list, choose Stroke Width. Drag the playhead to the fourth second, go to the stroke width input, and type "0". This makes the dashes slowly disappear, leaving the entire stage for the word "L". You can adjust the timing and control the transition by moving the keyframes.
Step 5 - Creating a Self-Drawing Effect
For the self-drawing effect, select the letter "L" and use both Offset and Dashes properties. Position the playhead at 1.5 seconds, choose Stroke Offset from the Animator's list, and ensure the path is not visible by setting the gap equal to its length. Copy the length to both Offset and Dashes to hide the stroke path. Then, drag the playhead to the third second and set the offset back to zero to make the stroke visible again through a self-draw animation.
Step 6 - Repeating the Process for Other Letters
Repeat the same steps for the rest of the letters. For example, bring the playhead to the second-second mark, choose the Stroke Offset animator, and copy the length to Offset and Dashes. For longer paths, place the ending keyframe at 4.5 seconds and set the offset to zero.
Step 7 - Animating the Crossbar and Dot
Select the crossbar of the letter "T", start from the 3.5-second mark, and repeat the process of adding the animator and setting the dashes and offset. To save time, delete the second crossbar, duplicate the first one using Ctrl+D or Command+D, and rename it. Move it over the second "T" and adjust the keyframes so they don't animate simultaneously.
Finally, animate the dot above the letter "I". Select the dot, go to the 4.5-second mark, add the Scale animator, and set the scale to zero for both X and Y. Drag the playhead another half second and change the scale back to one (100%).
Step 8 - Final Adjustments
Preview the entire animation from the beginning and make any necessary timing adjustments. Experiment with different easing functions to enhance the look and uniqueness of your animations.
Still have questions? Send us an email to contact@svgator.com and we will get back to you as soon as we can!
Related tutorials to help you out:


