Create a path animation
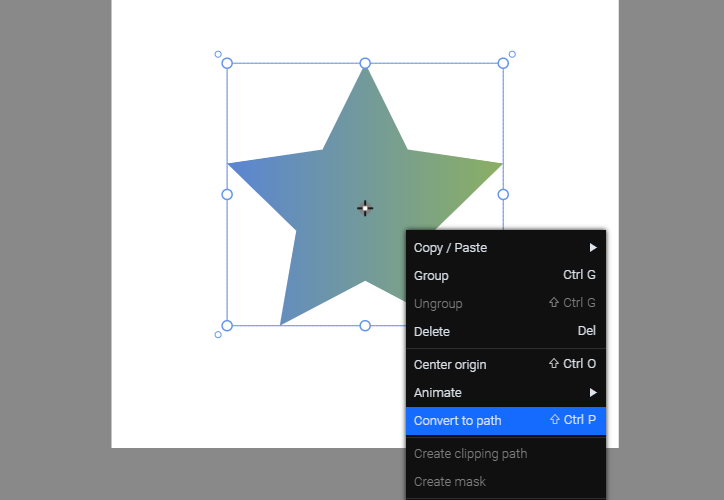
SVG path animation is used to create self-drawing and self-erasing effects. Before you start working on this animation, you must make sure that the element is a path. In case you’ve imported a different type of element (rectangle, polygon, circle or line), you can convert it to path. Simply right-click on the element and choose ‘Convert to path’. You can also use the shift + cmd/ctrl + P shortcut.
In this example, the star is a polygon and we will convert it to path:
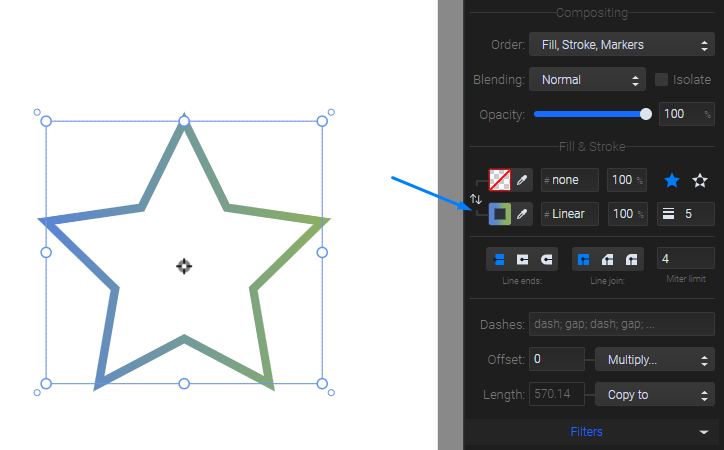
After you’ve converted it to path, you must make sure that it has a visible stroke. You can set the stroke color and width in the right sidebar.
Finally, set the Fill color to None. Now it’s a perfect path that you can use to create a self-drawing effect:
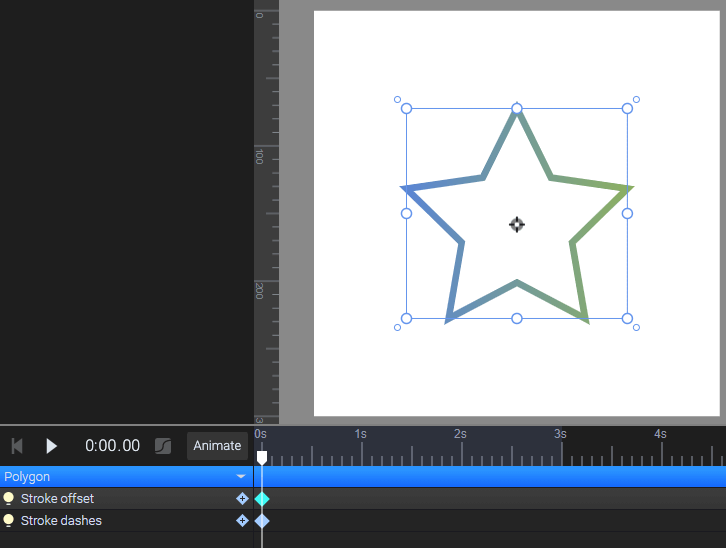
Select the element on the canvas and go to the animators list. Add the Stroke offset and Stroke dashes animators to the timeline:
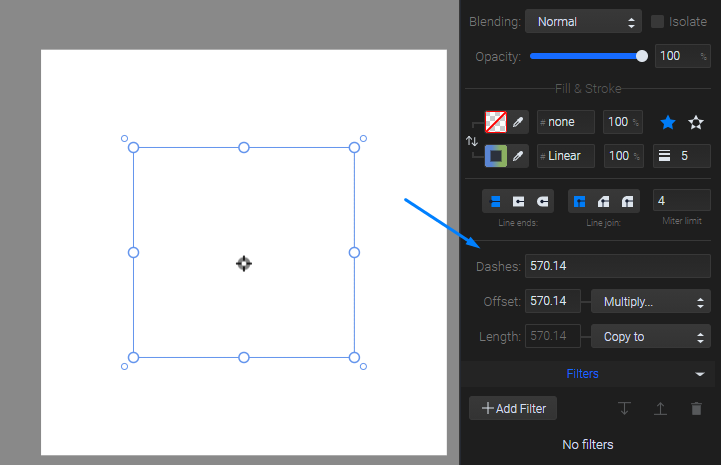
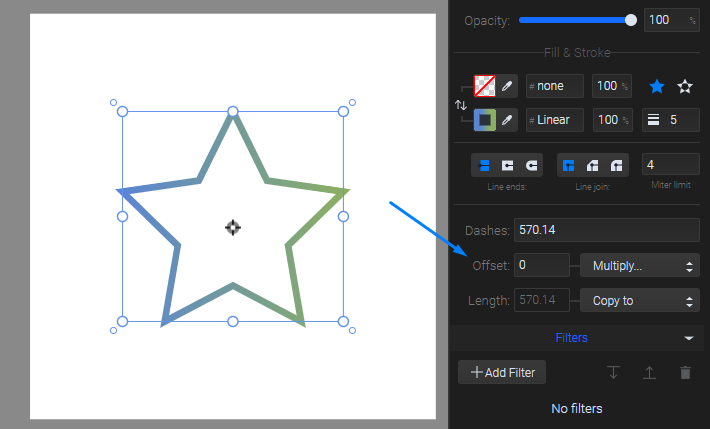
Go to the Stroke panel on the right side of the app. Next to the Path length, click on the Set as offset button. The offset property defines the location along a path where your array of dashes will begin. Copy the same value from the Offset input and paste it to the Dashes input. Your settings should look like this, making the element invisible:
Now, move the playhead on the timeline to the next second and set the Offset to zero:
Play the animation from the beginning to see the self-drawing effect. You may notice that the ending of the path isn’t quite perfect:
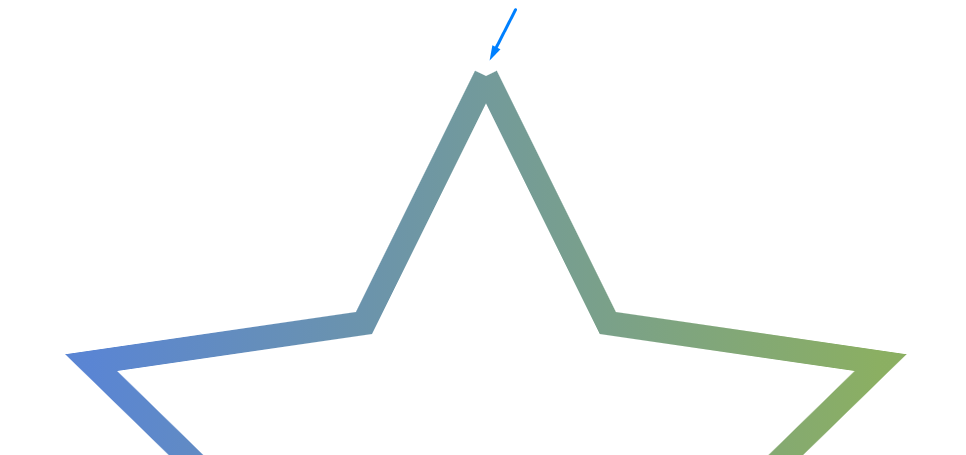
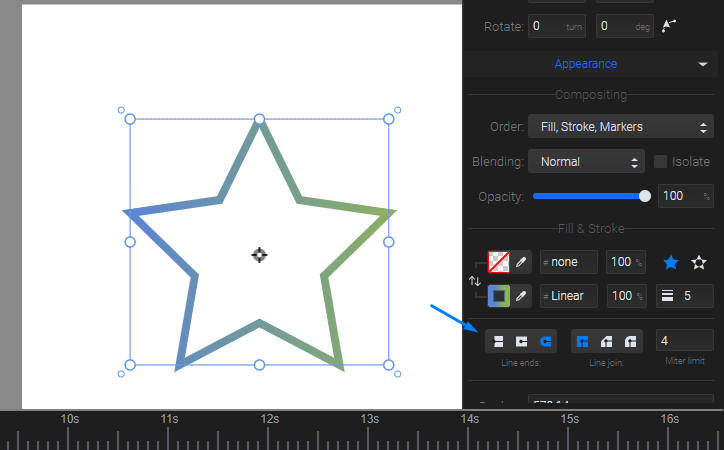
You can correct this in the Stroke panel by setting the Line ends and join to Round.
You can also make a self-erasing animation by adding a new keyframe and setting the Path length again as offset.
You can watch our tutorial on how to create a path animation here.
More articles:

Still got questions? Send us an email to contact@svgator.com and we will get back to you as soon as we can.