Add animated SVG to WordPress
Updated on: March 3, 2023
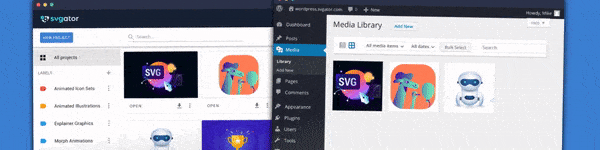
With SVGator's plugin for WordPress, you can add your SVG animations to your website very quickly. After you've downloaded the plugin and imported the projects, you can use them just as easily as you would use a regular image file right from the Media Library.
The animations will not start in the Editor view, just after you click on the Preview.
If you are planning to use the animation in a widget, make sure that you imported the SVG with CSS as the animation type from SVGator. Unfortunately, it's not possible yet to use SVG with JavaScript as the animation type in a widget.
WordPress comes with lots of templates and extensions. In some cases, our plugin might not work. If you find it difficult to make your SVG animation work, you can write us at contact@svgator.com, or you can try two different methods that we described below.
Besides advanced features like Morph or Path animation, SVGator 2.0 also comes with interactive events like animate on mouse-over or animate on-click. For this reason, you can choose to export the SVG with JavaScript as the animation type. This means that JavaScript will be embedded in the SVG code.
There are tons of WordPress sites created each day around the world and whether you are a student that wants a blog or a DevOps that's looking for a new blogging platform, there is a solution for everyone.
Unfortunately, the solutions are not always the same, and because of security concerns, there are lots of restrictions for animated SVG. For example, on wordpress.com if you have a plan that's lower than the Business plan, the use of JavaScript is forbidden. This means that animated SVG will not work unless you have a Business or eCommerce plan.
On self-hosted WordPress sites, the SVG animations will work, but the SVG must be converted because of the embedded JavaScript code, or the WordPress library will make the animation entirely invisible and useless.
We have a few solutions for this problem below:
Method 1
This one implies uploading the SVG to an external file storing service:
Some of the biggest storing services are :
Or you can set up your own webserver to serve the files.
Once you've uploaded your file , just use the external link in a WordPress custom HTML block. Please see the example below:
<object
type="image/svg+xml"
data="https://cloud.example.com/assets/animated.svg">
</object>
Method 2
You can copy the SVG code into an HTML block, but some characters have to be changed in order for the animation to work.
This can be done step-by-step by editing the code or by using the automated SVG converter below.
Note that to use SVG files (either static or animated) on wordpress.com, you will have to purchase a subscription. Still, there's a workaround to add your animations. You can add them as animated PNG, WebP or GIF.
Automated method:
- Use our SVG converter: upload your SVG that has JavaScript as the animation type. It will automatically convert the SVG so it will work on WordPress. Simply copy the code or download the SVG file.
You can watch our tutorial on how to use the converter and add the animation to WordPress here.
2. Next, add the modified SVG to Wordpress.
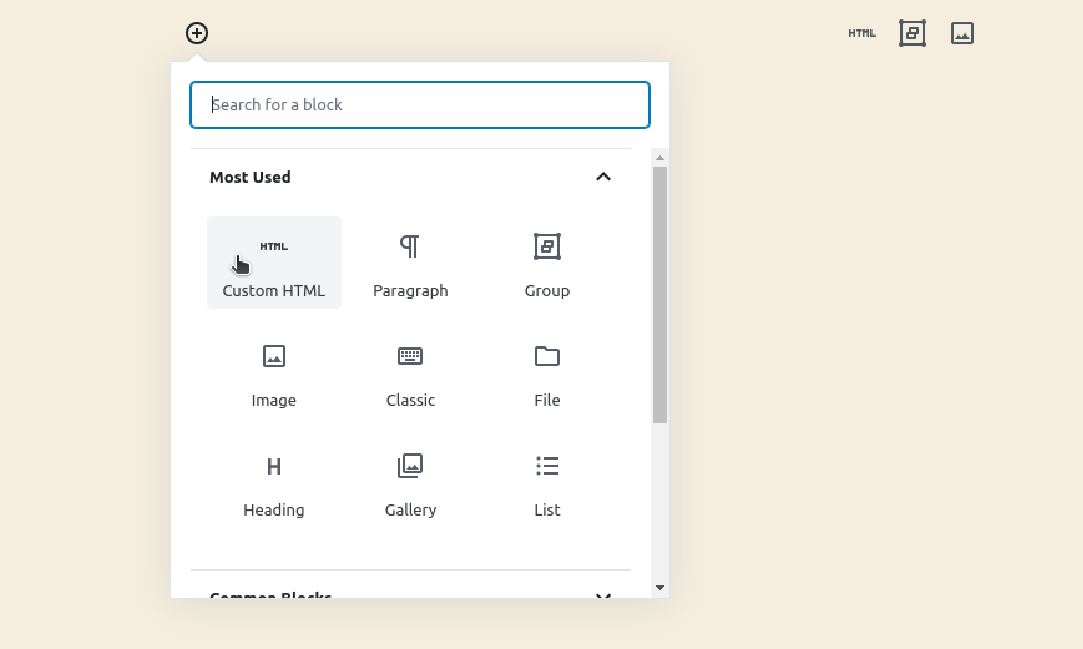
For this step , you have to copy the SVG code and add it to your to your WordPress page in a custom HTML block:
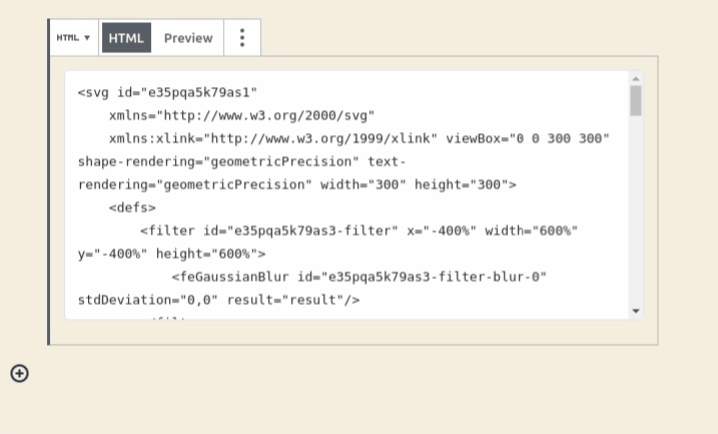
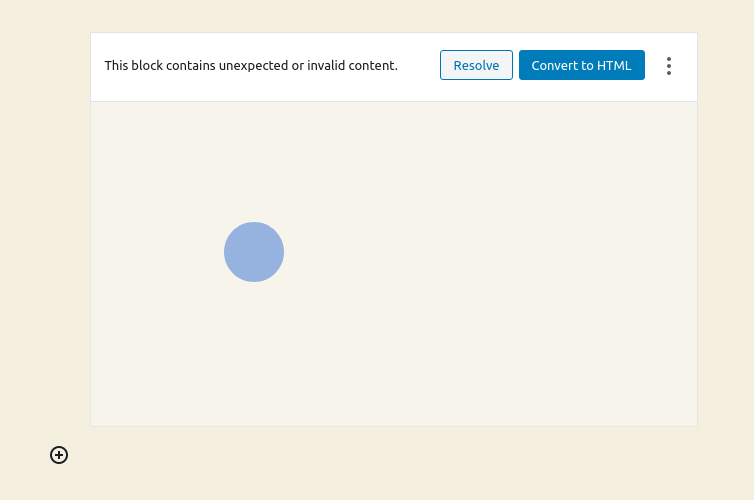
It should look like this:
Now just click preview to see the animation:
Note: If you see this message and would like to edit the HTML block, just click 'Convert to HTML'. It will not affect the SVG.
We will keep this article updated. In case this didn't work for you or you've found a better solution, please let us know.
If you want to know what happens to the SVG while we are converting the file you can also try the manual method below.
Manual method:
- Export your SVG
Export the svg from SVGator with JavaScript as the animation type.
If you have text inside the SVG, there's an additional step you must make, otherwise you can just skip to replacing invalid characters.

Every text block has a row that looks something like this :
<text id="e3i9p2tawx3" style="mix-blend-mode:hue" dx="0" dy="0" font-
family="CourierNewPS-BoldMT, "Courier New"" font-
size="123.355000" font-weight="bold" transform="matrix(1 0 0 1
146.73531250000019 600.90985400000000)" filter="url(#e3i9p2tawx3-filter)"
fill="rgb(181,60,58)" stroke="none" stroke-width="1"><![CDATA[TEXT]]>
</text>
You have to delete "<![CDATA[ ]]>", leaving just the text part.
It should look like this:
<text id="e3i9p2tawx3" style="mix-blend-mode:hue" dx="0" dy="0" font-
family="CourierNewPS-BoldMT, "Courier New"" font-
size="123.355000" font-weight="bold" transform="matrix(1 0 0 1
146.73531250000019 600.90985400000000)" filter="url(#e3i9p2tawx3-filter)"
fill="rgb(181,60,58)" stroke="none" stroke-width="1">TEXT</text>
- Replace invalid characters
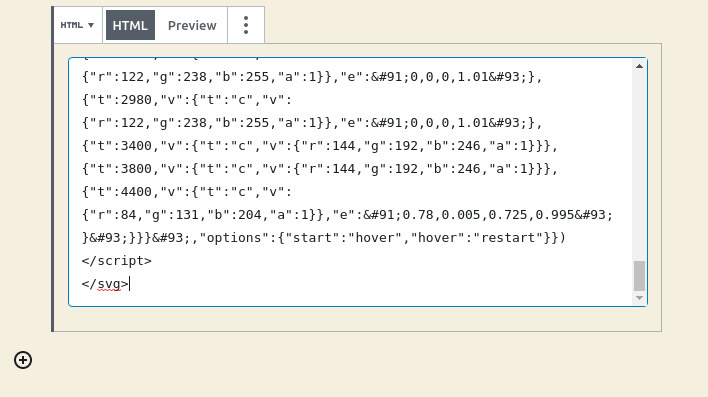
In the code, you must replace <>[] as they will be considered invalid by WordPress.
Please note that you should replace just what's between the <script></script> tags, as that's the JavaScript part of the SVG.
You can do this with any editor that has global string replacement, but we prefer Visual Studio Code.
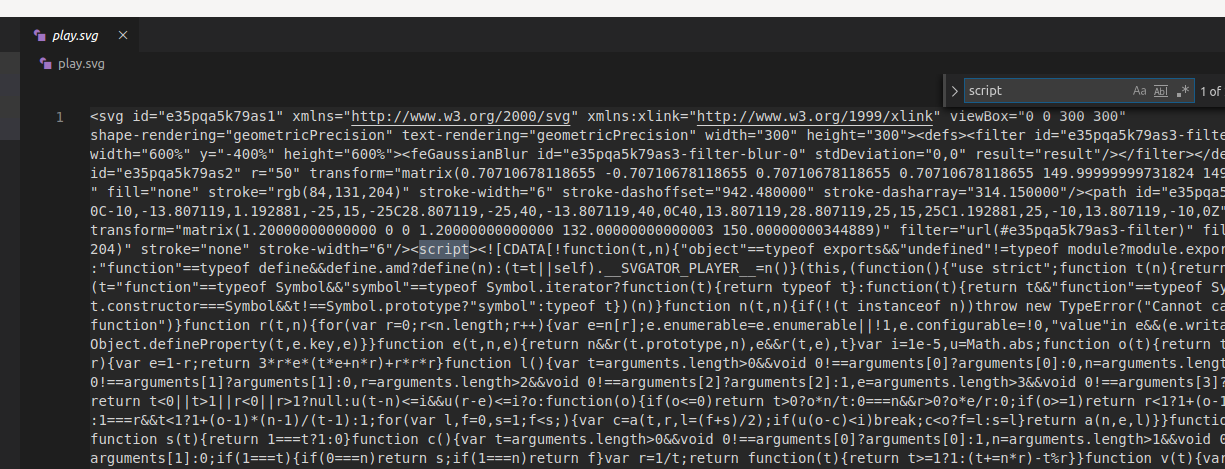
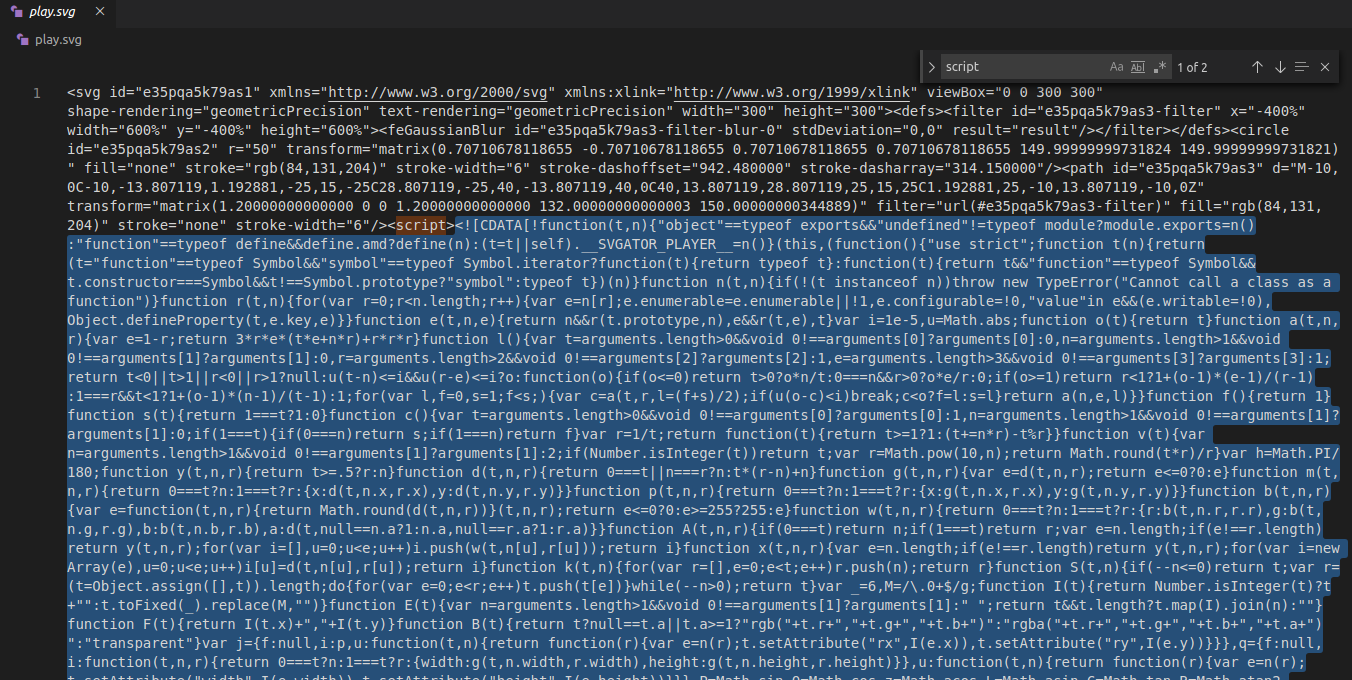
To replace the <>[] characters all at once, copy the code that's between the <script></script> tags to another file. Search for the script tags with the ctrl+f shortkey:
Now select the code, cut and copy it to a new file:
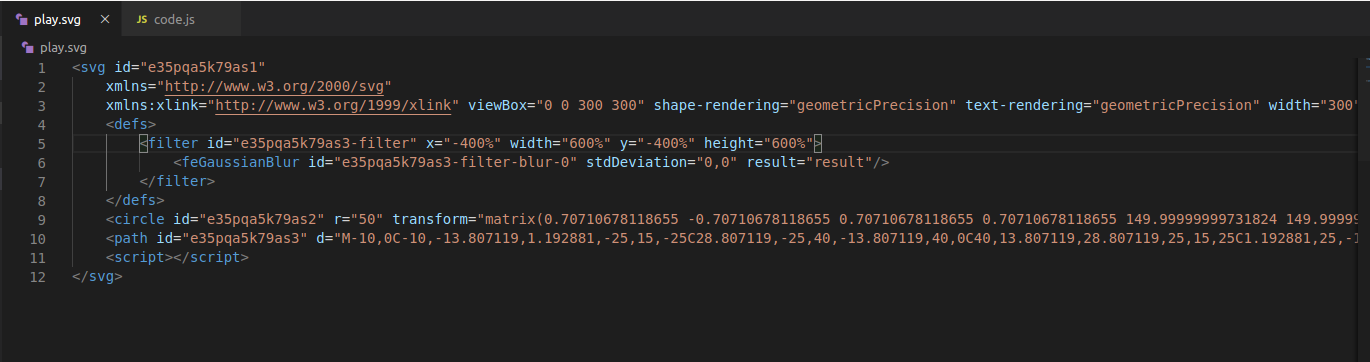
Your SVG should look like this with the empty script tags:
In the new file that you've just created you have to remove the CDATA elements or the SVG will not work. Just erase '<![CDATA[' at the beggining of the file and the ']]>' characters at the end of the file.
Next, replace the invalid characters using search and replace.
In Visual Studio Code, use the ctrl + F shortkey and click the arrow at the beginning of the search input to open the Replace input. Make sure that you are using the 'Replace all' option.
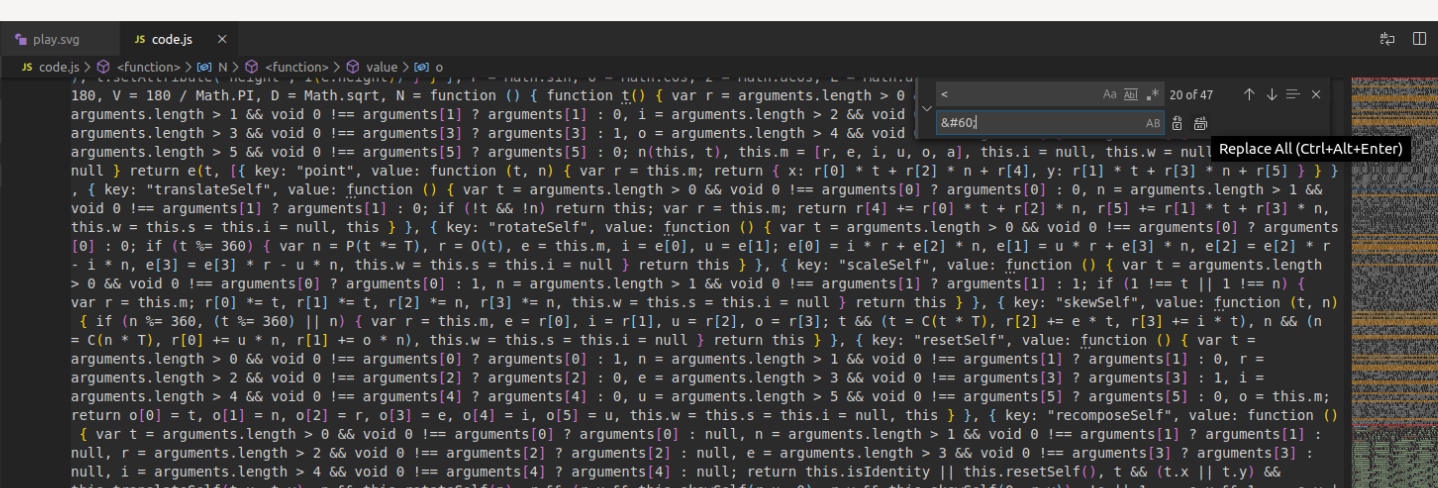
Replace the folowing characters with the corresponding HTML code:
- '<' replace with <
- '>' replace with >
- '[' replace with [
- ']' replace with ]
After you've replaced these characters, copy the entire code back between the script tags in the SVG.
More articles:
Still got questions? Send us an email to contact@svgator.com and we will get back to you as soon as we can.