How to use SVGator Plugin for WordPress
Since WordPress doesn't permit the uploading of SVG files containing JavaScript, we created our own plugin to simplify the process of adding your animations.
The SVGator plugin for WordPress assists in automatically inserting SVGator animations into your website.
In order to add animated SVGs to WordPress using the SVGator plugin you need to follow these steps:
- Install the SVGator plugin
- Connect WordPress with your SVGator account
- Import your SVG to WordPress
- Add your SVG on a page
Below, we’ll provide a more detailed explanation of these steps.
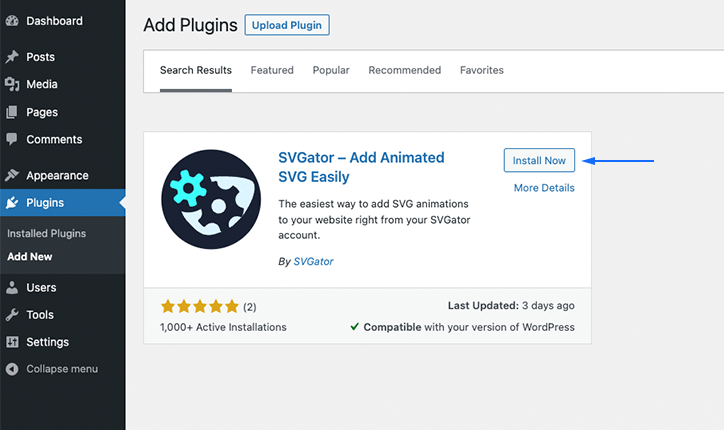
1. Install the SVGator plugin
Go to your ‘Plugins’ section on the left, click ‘Add new’ and search for ‘SVGator’.
Next, click on ‘Install now’ then click ‘Activate’.
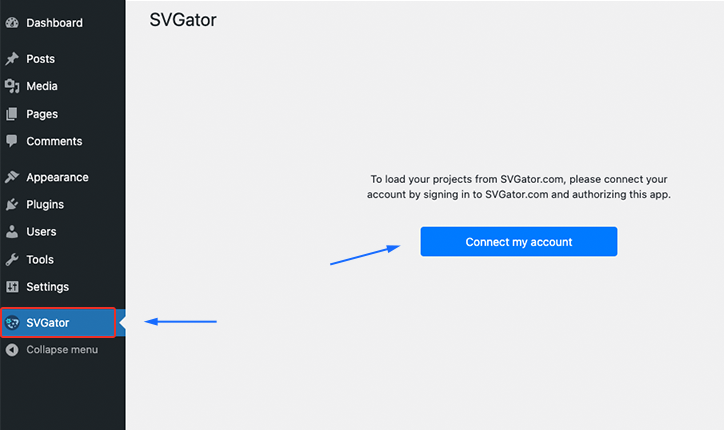
2. Connect WordPress with your SVGator account
Select the ‘SVGator’ section in your WordPress menu, log in to your SVGator account (if you were not logged in already), then press ‘Connect my account’.
Press the ‘Authorize’ button to connect your SVGator project library with your WordPress account.
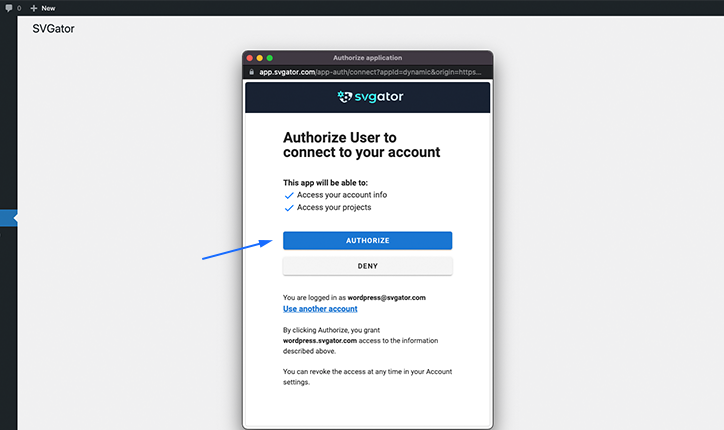
Now you should see all your projects from your SVGator library.
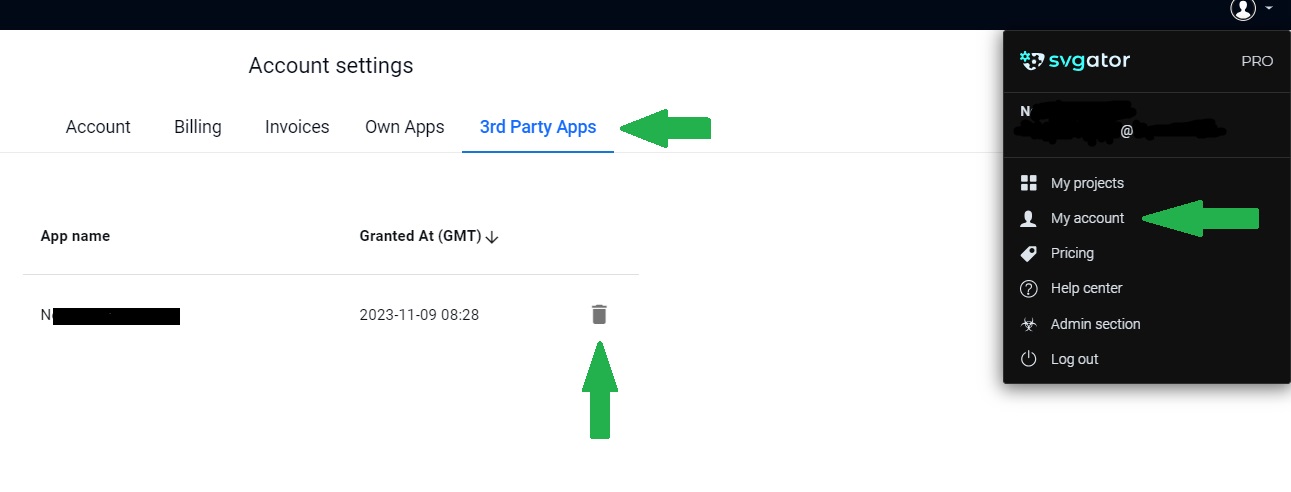
NOTE: If necessary, you have the option to revoke access at any time. You can do this by logging into app.svgator.com, accessing 'My Account', navigating to the '3rd Party Apps' section, and clicking on the 'Delete' button to revoke access.
Alternatively, within your WordPress SVGator Plugin, simply press the 'Disconnect' button located in the top right corner.
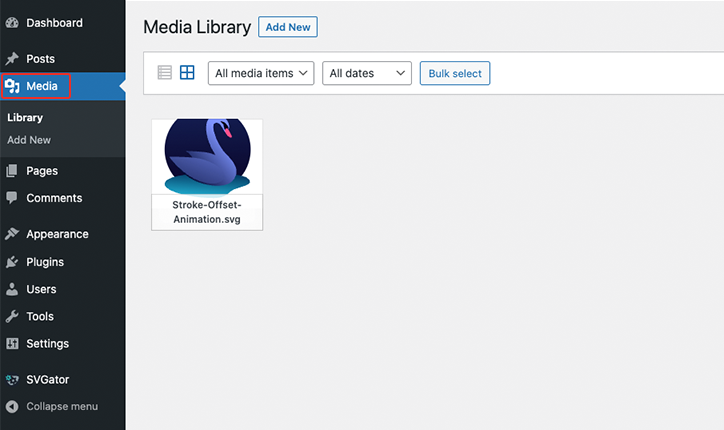
3. Import your SVG to WordPress
Upload your project by selecting 'Import to Media'; it will be exported using the actually saved export settings in your SVGator Account.

The SVG project will then appear in your WordPress media library.
NOTE: If the project or export settings are not modified in your SVGator account, you can export it multiple times and it will not increase the number of your (Free) SVGator account exports.
4. Add your SVG on a page
You can add your SVG file in many ways.
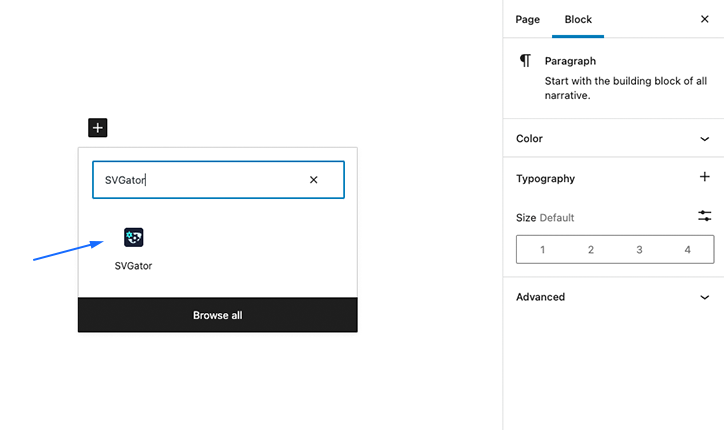
Open an existing ‘Post’/’Page’ or ‘Add New Post’/’Add New Page’ in WordPress then click on the ‘Add block’ icon on the page, select ‘SVGator’ to add an SVGator block, then select one of the following:
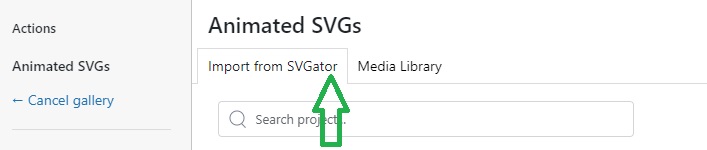
- ‘Import from SVGator’ tab: import the files directly from your SVGator account with existing export settings. Make sure you reload the WordPress page after you make a modification on the export settings of your project in SVGator.
- ‘Media Library’ tab: you can choose from existing files you previously loaded in WordPress from your computer.
NOTE: The distinction between the 'Media Library' and 'Import from SVGator' is that the 'Media Library' comprises already exported files in your SVGator account. On the other hand, 'Import from SVGator' contains your real-time SVGator projects, along with your current export settings.
NOTE: SVGs exported with the 'JavaScript' animation type won't start in the 'Editor' view; they'll start only after you click the 'View Post' button. In contrast, SVGs exported with 'CSS Only' animation will start in the 'Editor' as well.
If the SVG looks to be too large on your page, simply resize it using the resize controls around it.
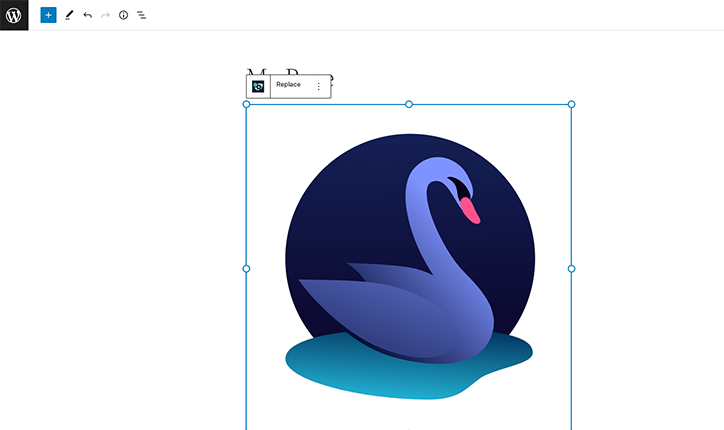
All you have to do now is hit the ‘Update’ button, and click the ‘View Page’ link prompted, so you can enjoy your SVG animation on your WordPress page.
If you encounter issues with the ‘SVGator’ plugin, you can still refer to and utilize the manual methods outlined on our other help center page - 'How to Add Animated SVG to WordPress'.
Other useful Help Center articles from us:
Still have questions? Send us an email to contact@svgator.com and we will get back to you as soon as we can.