Add animated SVG to Vue.js
You might be reading this because you've animated you first SVG and you've tried to import it into a Vue.js project, just like you would import a regular SVG, but even though the SVG loads, it doesn't animate.
That's because Vue.js needs to load the SVG and JavaScript separately. SVGator conveniently bundles the SVG and the JavaScript together, so you don't have to deal with multiple files at the same time. While this works for most use cases, it doesn't work for Vue.js.
The SVG has to be formatted to look like a Vue.js component. That's what we will show you in this guide.
Find a simplistic example of what's described below here (using browser-side rendering).
We also have an example app on github, that's basically a vue app with an animated SVG on the home page, using Single -File Components and server-side bundling.
Step 1
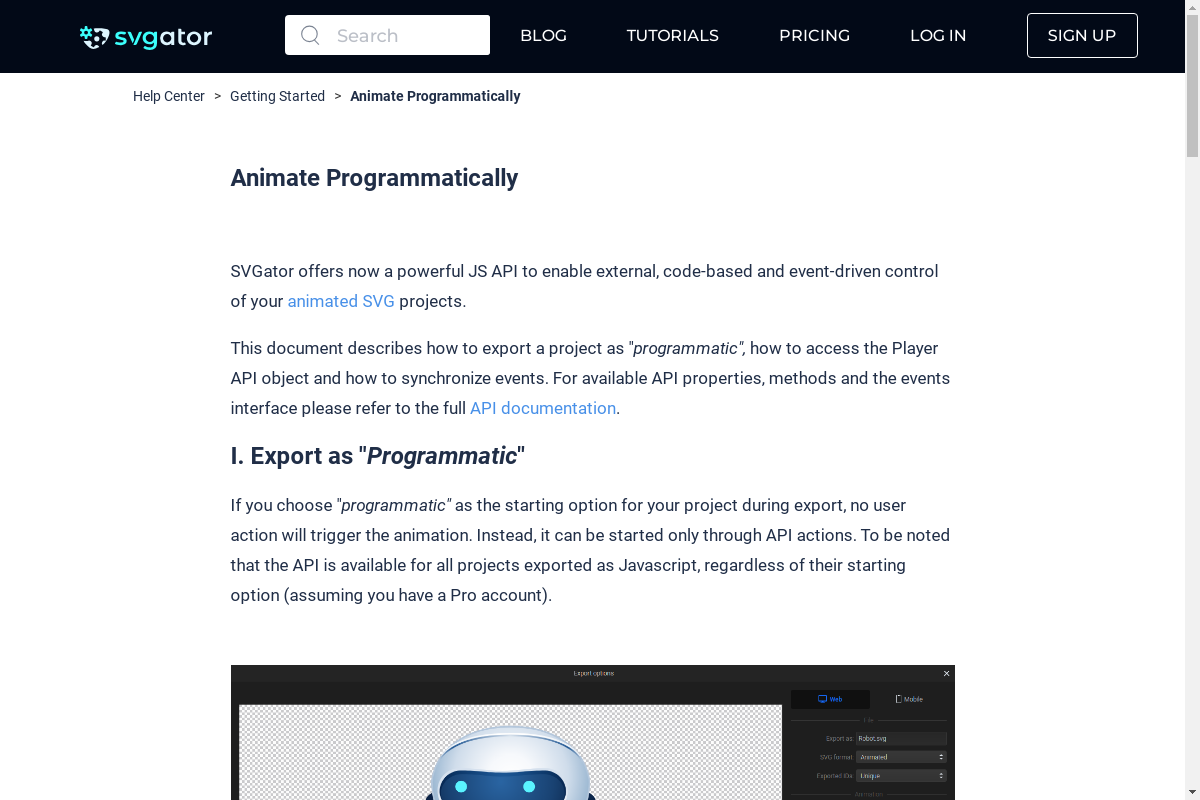
Let's start by exporting the SVG.
Go to svgator.com, export your animated SVG with JavaScript as the animation type and player option as external.
Step 2
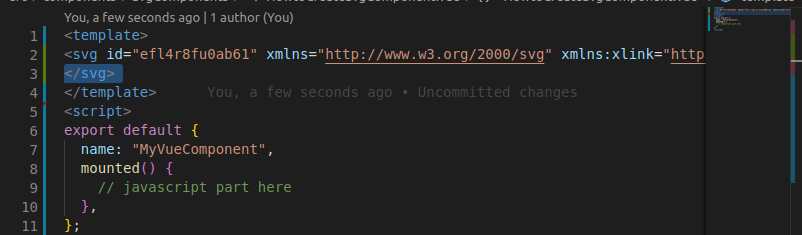
Next, create a component for the SVG and put the following content inside.
<template>
  <p>svg part here</p>
</template>
<script>
export default {
  name: "MyVueComponent",
  mounted() {
    // javascript part here
  },
};
</script>
Step 3
Once you got the template for the component ready, you can add the SVG and the JavaScript inside.
We will start with the SVG part. This is usually at the beginning of the file, it starts with an <svg> tag and it ends right before the <script> tag.
In VS Code, you can quickly search for these tags using ctrl+ f .
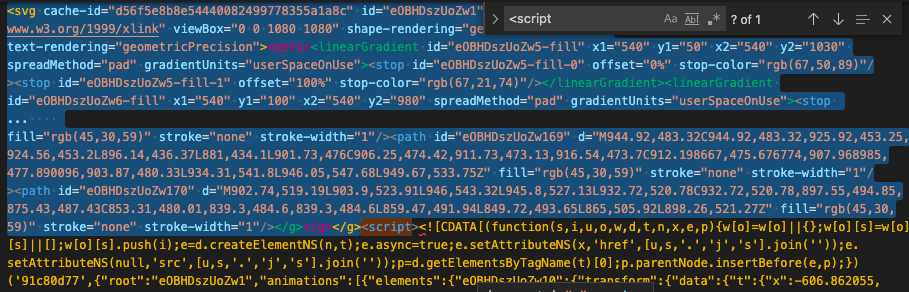
Copy the selected SVG and paste it between the <template> tags in the Vue.js component that we created earlier.
After you pasted it, make sure to add the missing closing </svg> tag at the end of the copied code.
Now it's time to add the JavaScript that resides between the <script> and </script> tags.
Copy the code part without the script and CDATA tags:
<script ><![CDATA[ ...copy code...]]></script></svg>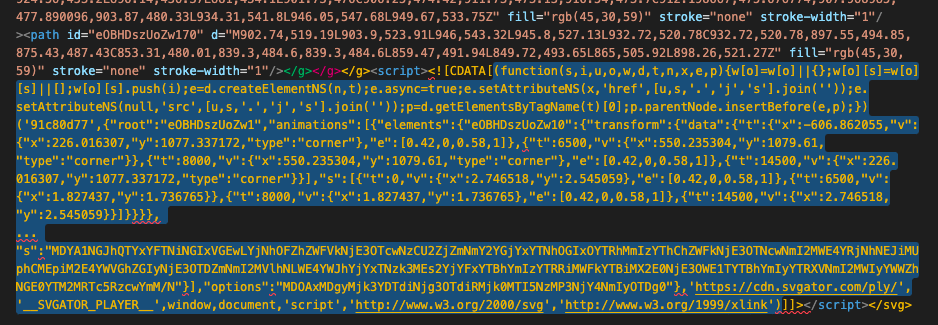
Step 4
Paste the JavaScript right between the brackets in the mounted hook.
<script>
export default {
  name: "MyVueComponent",
  mounted() {
      // paste here
  },
};
</script>
All what is left to do is to import the component and it should work properly.
Step 5 - Optional - API Usage
JS code controlling the animation through SVGator's Player API can be placed right after the code one copied into the mounted hook, wrapped into the ready handler. For more information visit Player API documentation.
<script>
export default {
  name: "MyVueComponent",
  mounted() {
      // paste here
      const svg = document.getElementById('e0A17yswZQz1');
      const player = svg && svg.svgatorPlayer;
      if (!player) {
          return;
      }
      player.ready(player => player.play());
  },
};
</script>
If you have some errors when building your project, please make sure to add the svg component name to .eslintignore. Try our github example.
Alternative - Object Tag
An alternative to the described below would be to copy the animated svg to your web server and use it in Vue from an <object>. In this case, the animation can still be controlled through API as described here (however with the restriction that the object's dat url has to point towards the same domain).
More articles:
Still got questions? Send us an email to contact@svgator.com and we will get back to you as soon as we can.