How to Create a Basic Position Animation
Duration: 05:24
In this tutorial, we're going to show you how to import an existing file and create a location symbol from scratch. Then, animate it only using the position animator.
For the animation part, skip the video to the 2 minute 34 second mark.
Step 1 - Upload the provided static SVG
Start a new project by uploading the static SVG asset.
Step 2 - Draw the location symbol
If you want to skip the drawing part, go to Step 6.
Drawing the location symbol:
First, enable the back grid and the snap-to-grid option for a precise drawing.
From the toolbar, select the Ellipse and start drawing it there by holding the left click. To create a perfect circle, hold down the shift key on your keyboard and draw it from the center.
Also, hold down the alt key or option key if you're using a Mac. Select the transform tool and readjust the circle's position on the canvas.
From the right sidebar here, change its color. Click to open the Fill options and freely choose a new color.
Before continuing, create a duplicate of the circle. Select the circle, right-click, copy and paste options, and then duplicate. Hold Shift and scale down the new circle and change its color so we can actually see it.
Click on the eyedrop option next to the fill color and pick white from the canvas.
Step 4 - Convert the circle into a path
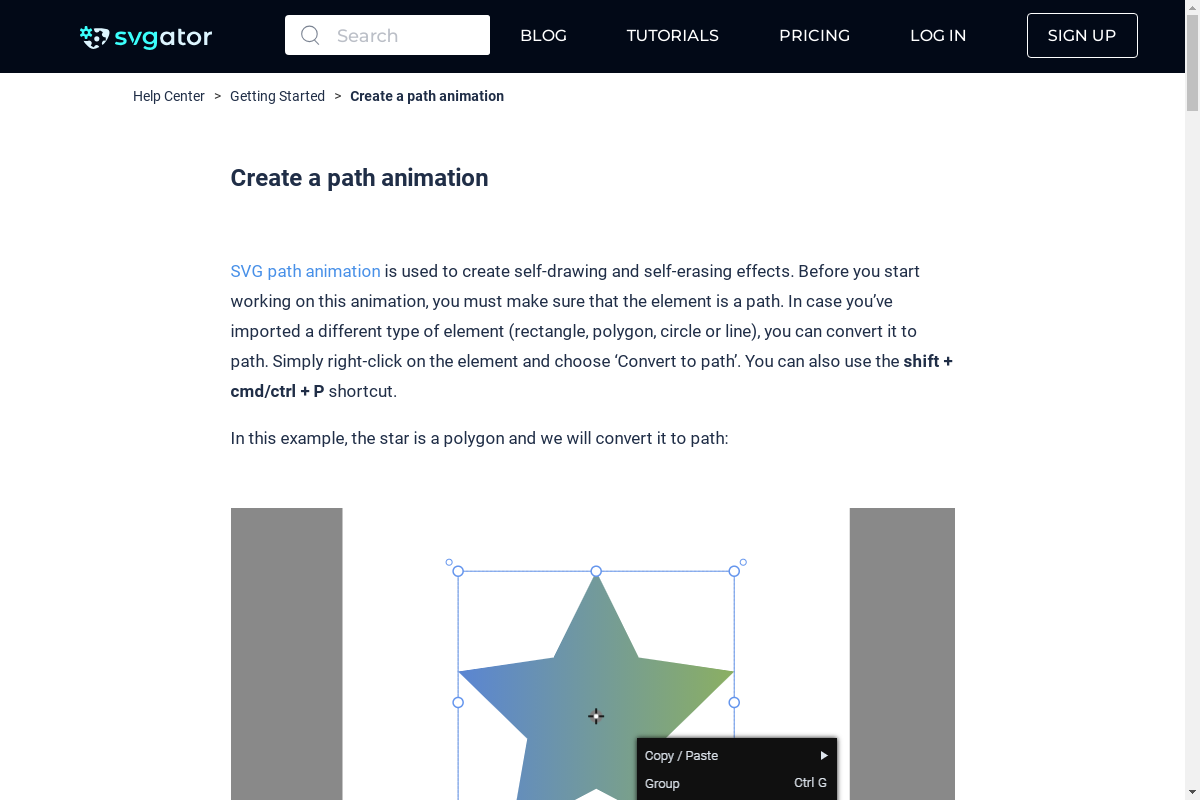
Select the red circle and change its shape to look like the location symbol. But for that, you must convert the circle into a path first. So right-click, then choose Convert to path.
From the toolbar, select the Node tool or simply press "A" on your keyboard. Because the circle is now a path, you can edit all its nodes. Start with the bottom node by moving it down.
So to make the joint sharp, choose the first node type option from the Path Nodes panel.
The side nodes also need some adjustments. So, with both of them selected, choose the fourth node type option. This option allows you to move the bezier handle of a node without affecting the other one. Move in the same distance to keep it symmetrical and make it look more accurate.
Step 5 - Create a group element
Create a group for those two elements. With both of them selected, right-click and Group. We now have a single group element to work with.
Feel free to move and readjust the group's position until you find its right place.
Step 6 - Animating
For this animation, two seconds will be enough. Grab the second timeline marker and drag it to 2 seconds on the timeline.
Click on Animate button and select Position. Choosing an animator for the selected element will automatically add the first keyframe on the timeline, right where the playhead is. In this case, the playhead was at second zero. Then you have to define how the element will move.
We chose to move it up within a transition of one second. To do so, drag the playhead to the one second mark, then move the element upwards to define the distance it will animate in this one second transition.
Notice that a new keyframe was automatically added to mark the new position and the transition between the two keyframes was created.
That was simple, right? But it's not quite done yet.
We want the location symbol to move back to its starting point with the transition of another second. So, drag the playhead to the end of your animation and move the element down. The Snap to grid option, which is still enabled, helps to place it perfectly right at the original point.
But there's also another way that will 100% guarantee you will get the exact same state of any animation from a certain second.
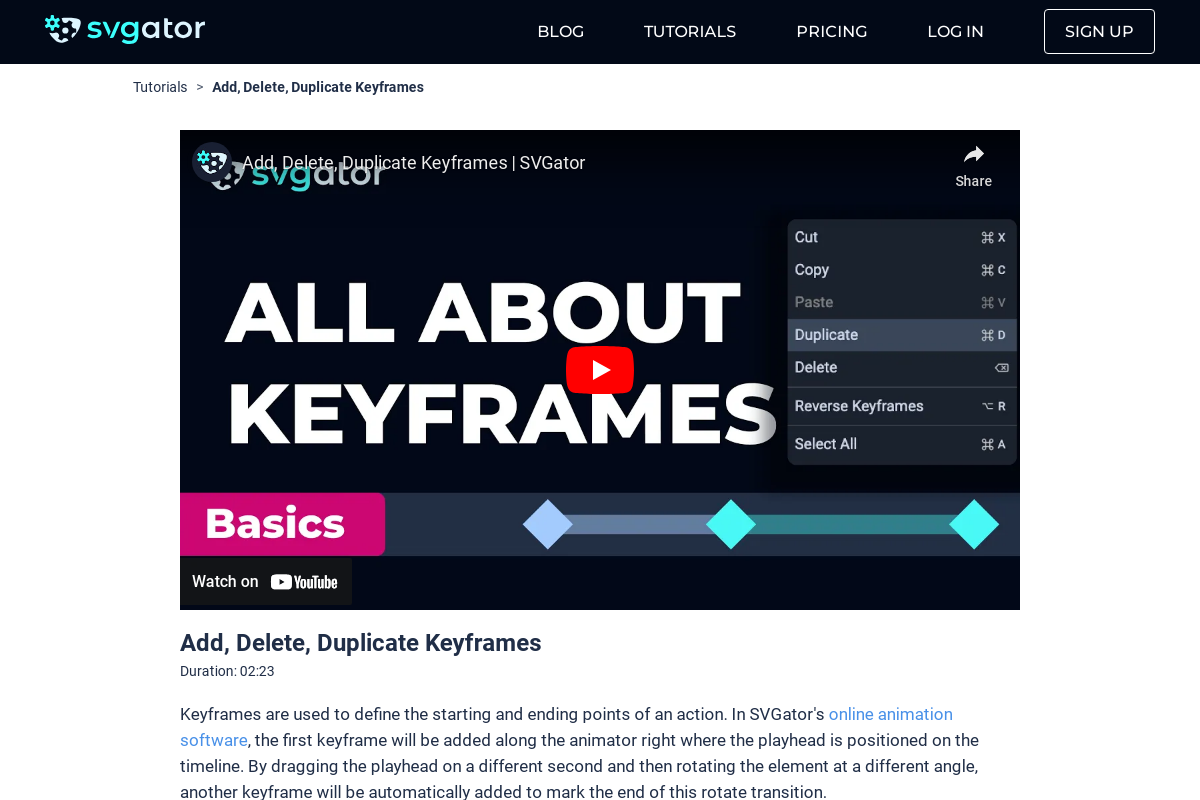
First, undo that last step and go back to the first keyframe. Right-click on it, then duplicate. Keep in mind that the duplicated keyframe will be added at the playhead's position. In this case, at the end of the animation.
Hit Play or press the space bar on your keyboard. You've got a perfect loop animation of a floating location symbol. But something doesn't feel quite right yet. The animation is linear.
To fix this, click the position animator in the timeline to select its keyframes. Then click on the easing icon next to the time indicator. From the presets list, select Ease Out Sine, and then play it again. It looks way better now, and it feels more like it's floating.
Step 7 - Export the animation
Export the animation. Choose SVG from the export list and apply the following export settings:
Set the iterations to infinite to have an infinite loop.
Also, change the Animation speed from 100% to 120% to make it a little bit faster. To view the new settings, you have to click on Refresh preview.
All that's left is to export it: click on the Export button and there you have it.
Your animated SVG file is ready. Go to the download folder and open it in the browser.
This is how you create a scalable SVG animation of a floating location symbol that weighs only 49 kilobytes in just a few minutes.
Still got questions? Send us an email to contact@svgator.com and we will get back to you as soon as we can.