Export settings for GIF & other raster formats
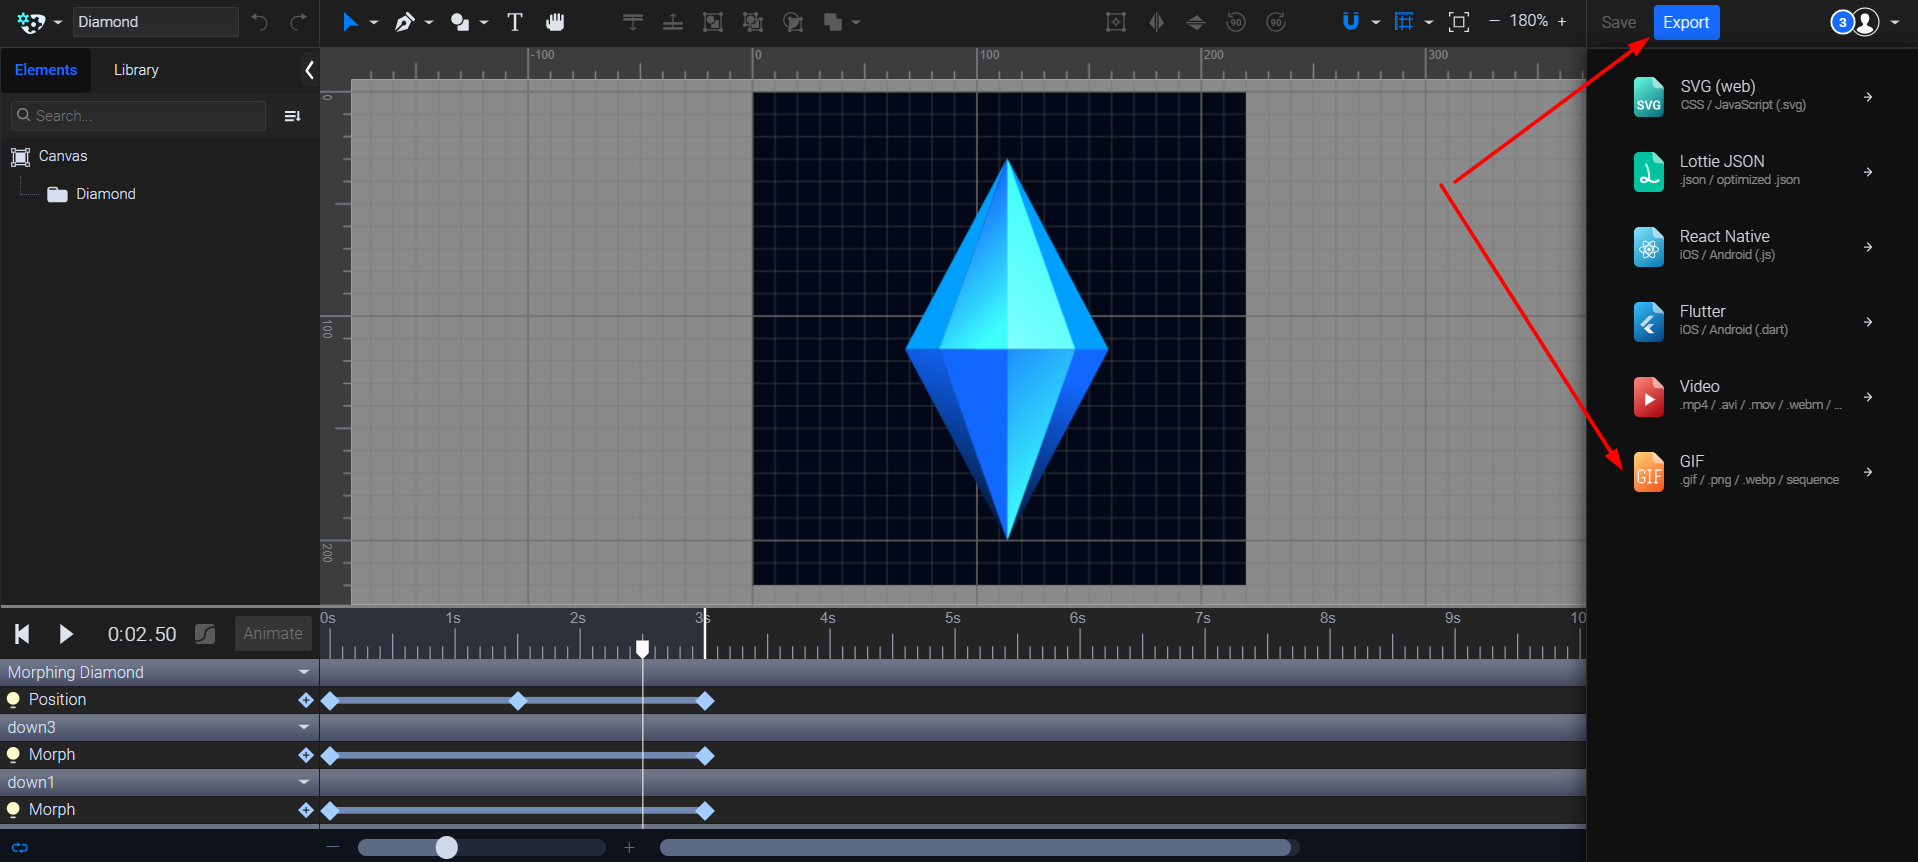
To access the export settings for GIF, Animated PNG, WebP, and PNG Sequence, click on the 'Export' button located in the top right corner of the application, and then select GIF from the dropdown list.
NOTE: During the export process your previews are SVG-based, so specific GIF settings such as transparency, matte color, dithering, and the number of colors cannot be observed in the preview window. However, these settings will be applied during the actual conversion process.
Export as setting
To export as GIF, Animated PNG, WebP, or PNG Sequence, click on the export button, and choose the format you prefer (.gif / .png / .webp / sequence).
For example, if you select 'Animated PNG' from the ‘Format’ dropdown, you'll notice that the file extension in the 'Export as' field changes to .png.
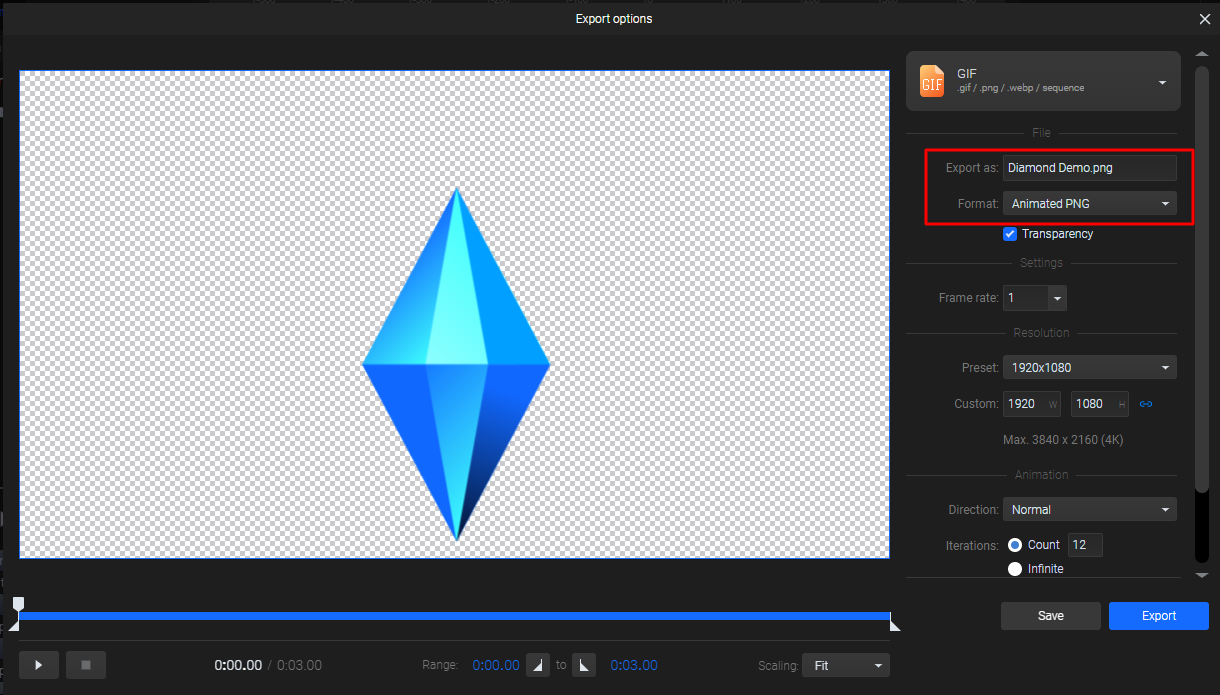
Animated PNG files utilize minimal compression, offering high quality by default, and support millions of colors. This makes it an excellent choice if your design incorporates numerous shades or gradients.
NOTE: Your 'Animated PNG' may appear static when opened with most image viewers, including the default Windows Photos app. To view your 'Animated PNG' files properly, open them in a web browser like Google Chrome.
Transparent Background setting
The transparent background setting can be used in the following ways:
- You can export your GIF with a transparent background. However, please note that the GIF file format doesn't support semi-transparency (lower Opacity than 100%), which may result in rough and pixelated edges for transparent GIFs.
- If the 'Transparent background' option is checked, an additional setting called 'Matte color' will be enabled.
- When exporting animated PNG or WEBP check 'Transparency' if you want your animation to have a transparent background. Both formats fully support semi-transparency, unlike GIF, which does not.
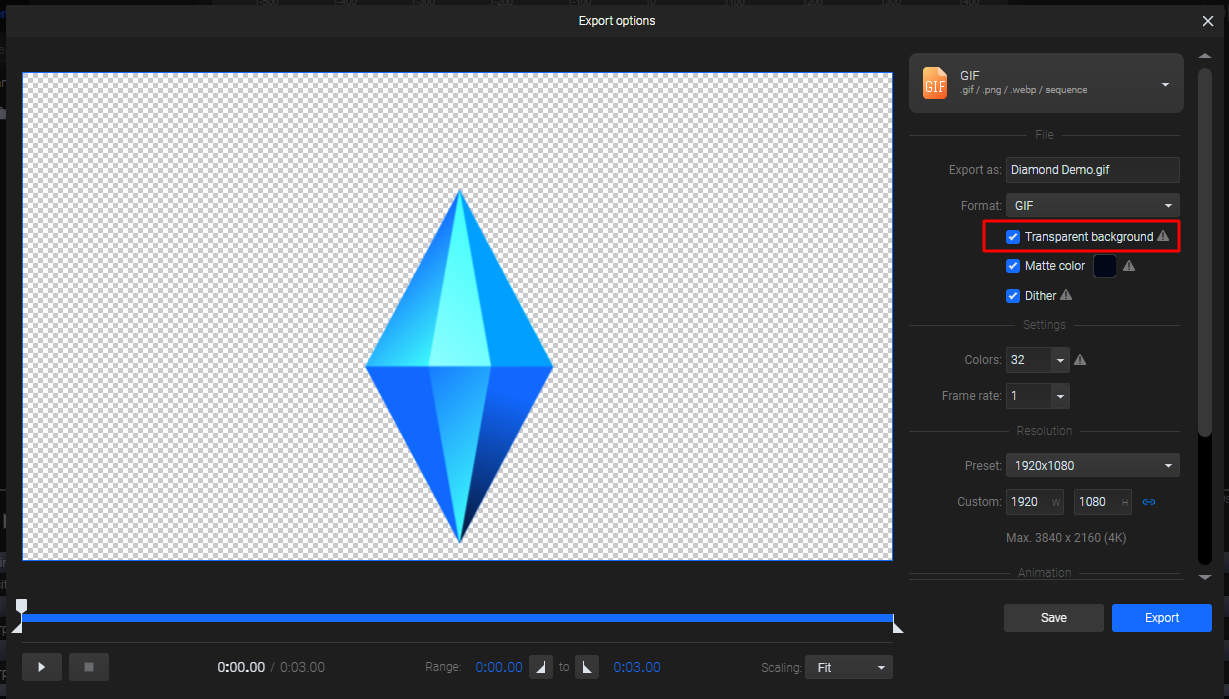
NOTE: The previews are SVG-based, so specific GIF settings such as transparency, matte color, dithering, and the number of colors cannot be observed in the preview window. However, these settings will be applied during the actual conversion process.
After naming your project and selecting the GIF format, you can choose to export your animation with a transparent background.
Matte Color setting
The matte color will blend with the edges and appear below any element with an opacity of less than 100.
By default, the matte color is either white or the color of your canvas. If you know the background color on which your GIF will be displayed, using this default setting will yield the best results.
Alternatively, you can choose a color from your animation as the matte color to minimize fringing or a halo effect around the edges.
NOTE: Changing the matte color will also alter the canvas color, as these two settings are linked.
Dithering setting
Dithering applies colored pixels in a noise pattern to make them appear smoother, especially when the color palette is limited. The difference is most noticeable when using gradients or a wide range of colors.
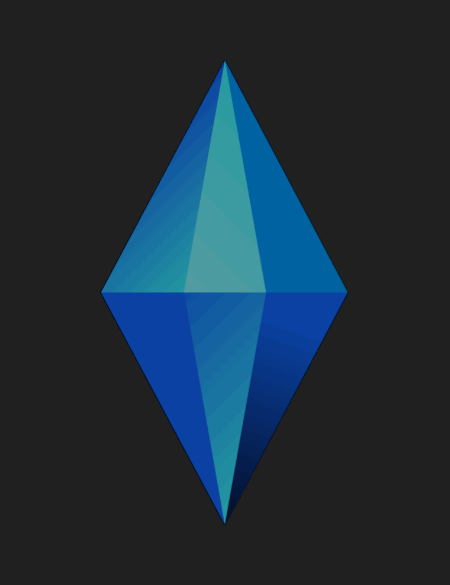
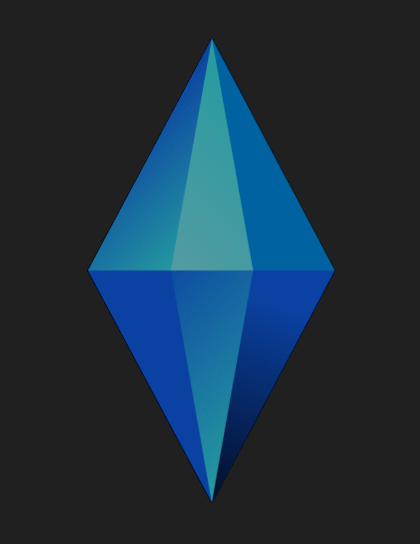
Dithering works exceptionally well for areas with varying shades of color, gradients, or real images such as photos. However, for graphics containing large flat areas of color, such as logos, flat design graphics, backgrounds, and cartoon-like images, you achieve the best results with dithering turned off.
Colors setting
GIF files support a maximum of 256 colors. While this may seem like a substantial number initially, it is relatively limited compared to the millions of colors supported by other formats.
NOTE: You can set a custom value by directly entering it into the input field.
The file size is significantly influenced by both the number of colors and higher resolutions, so it is recommended to set them to the lowest values possible.
When your project employs a flat, limited color palette, a lower number is usually sufficient. However, it's important to note that even if your vector art uses only 8 colors, for a visually smooth result, it's recommended to leave room for intermediate colors as well.
NOTE: Unfortunately, this setting is not visible in the preview window as it is applied during the conversion process.
Frame Rate setting
For GIF, animated PNG, and PNG sequences you can set the framerate to a maximum of 30.
The frame rate significantly impacts the file size, so we recommend using the lowest setting that still looks good with your animation. For more precise control, you can set a custom frame rate by directly entering it into the input field to fine-tune your result.
You can set the frame rate of your WebP to a maximum of 30.
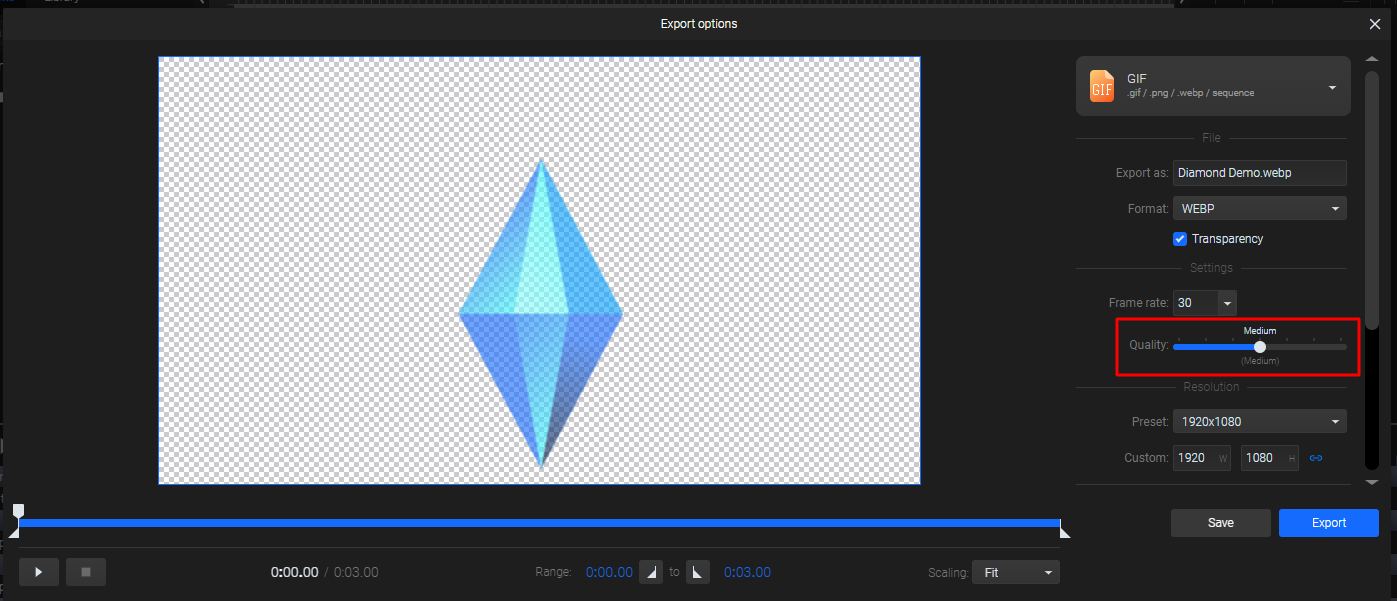
To fine-tune your result, input a custom frame rate directly into the designated field. By default, the quality is set to medium.
For graphics with shading and gradients, we recommend higher quality settings, while lower settings are suitable when aiming for a smaller file size. The visual difference in quality becomes apparent only after rendering.
Quality setting
GIF, animated PNG, and PNG Sequence file types feature the option to be exported in 4K.
WebP export comes with the option to set the quality from lowest to highest.
Resolution Preset setting
Set the size of your GIF, animated PNG, WebP, or PNG sequence directly from the export panel.
If the export size proportion does not match your canvas size, choose the ‘Scaling’ option that works best: Fill, Fit, or Stretch.
Animation settings
For GIF, animated PNG, and WebP support you can also set a direction for your animation; it can be 'Normal' or 'Reversed.'
'Reversed' means that the animation you've created will be played backward after you export it.
To use the 'Alternate' or 'Alternate reversed' options, you must set the 'Iterations' to 'Infinite' or the 'Count' number to more than 1.
'Alternate' means that your animation will be played forward first and then backward.
'Alternate reversed' means the same thing, but it will be played backward first and then forward.
To specify the number of times the animation will be played, choose 'Infinite' to export the animation with an infinite loop, or select the 'Count' number to set how many times the animation will be repeated.
To control the speed of the animation, you can set the Speed percentage value to a lower value to slow down the exported animation or to a higher value to speed it up.
Animation Speed setting
Sometimes, GIF exports may encounter issues like choppy animation or larger file sizes. To resolve these, consider adjusting the playback speed in the export panel using the 'Speed' setting or selecting the 'Animated PNG' export format.
To summarize, altering the animation speed affects the file size: reducing the animation speed increases the file size, while decreasing it results in a smaller file.
Supported Email Signature Animation: GIF Only
Since not all email clients are compatible with APNG (Animated Portable Network Graphics) for animated email signatures, GIF is the only animated format supported for email signatures at this time.
Therefore, GIF files are recommended and widely used for adding animated elements to email signatures due to their broader compatibility across various email platforms.
Still have questions? Send us an email to contact@svgator.com and we will get back to you as soon as we can.
Discover other useful articles:
